
It can be challenging to complete tapping holes on the spot. A technician should take all necessary measurements before cutting and threading. Otherwise, an improperly tapped hole can produce the incorrect thread size or finish, which could result in the tap failing.
While you have to avoid as much error as possible, perfection isn’t always a given. One notable thing to also remember is that it is crucial to fix these errors before one can start threading. Otherwise, screw threads won’t be usable due to improper threading. Paying insufficient meticulousness will result in additional tapping procedure errors. Even the slightest details might be overlooked by manufacturers, resulting in useless threads or, even worse, a malfunctioning tap. Here are several know-hows you can do to make taping holes seamless.
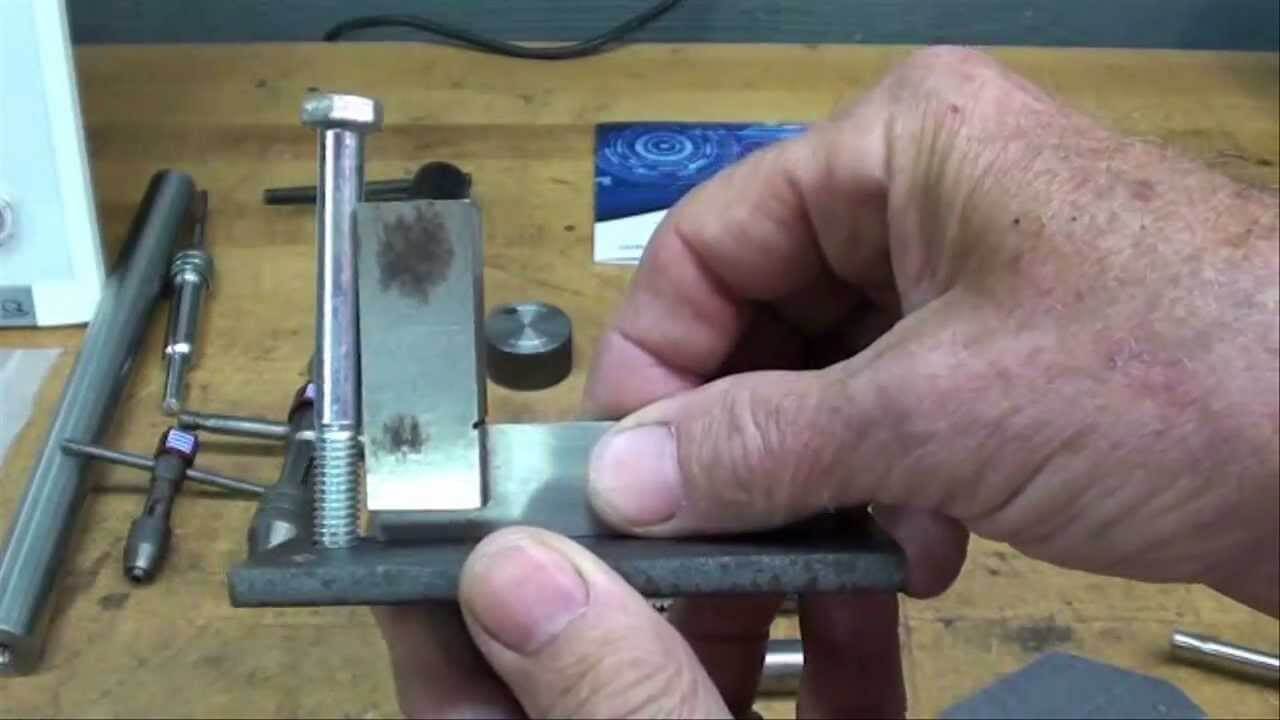
Step-by-step Guide for Hand Tapping Holes
- A hand tap set with three different taps series is required. Frequently known as “serial taps” or “1-2-3 Tap.” Have safety goggles and gloves ready to shield your hands and eyes from hazardous tap cracking.
- Make sure the tap revolves around the axis of the hole. Insert the tap into the hole parallel to the part’s surface.
- To make it simpler to remove the chip, add a few drops of oil to the hole’s opening. The tap wrench is then rotated clockwise while being slightly depressed simultaneously.
- The sputtering procedure is successful if the tap remains on the part and doesn’t come off when you release the tap wrench.
- After tapping, it is rotated once counterclockwise (for chip removal) and once in the other way (for turning and breaking the removed chip from the part, breaking it).
- Up till the hole is filled, repeat it numerous times. Break up the chips, and fresh lubricating oil reaches the cutting edges by rotating the wrench back and forth roughly once per quarter turn.
- Repeat step two and three until just a little finger pressure is needed to spin and move the tap inside the component.
- For your screw to turn without stacking, secure it in place to the hand-tapped hole.
Factors to Consider
Hole Size
Since the initial creation of the tap drill size chart, several developments have been made, including programmable machinery, counterboring, synchronous tapping, specialized tapping fluids, premium high-grade taps, and better tool holders.
What improved most significantly are the drills they use to make holes. The size and quality of the drilled hole have improved thanks to new flute designs, improved carbide grades and HSS, coolant holes, and coatings like TiN and TiCN.
Modern high-tech drills produce holes significantly closer to the drill’s actual measured size or even lower than the drill diameter thanks to more precise, faster machine tools. The effort on the tap increases when producing smaller pre-tapped holes. Switching to one of these sophisticated drills could cause tap rupture where none previously existed.
Dull or Damaged Tools
Engineers Edge defined work-hardening as hardening metals and stretching the substance above its yield point. Work-hardening may occur when you use broken or dull tools for boring or drilling holes. When a metal hardens, cutting and threading become more challenging for humans and robots.
These same human technicians must consider additional information regarding the machinery they employ during the tapping operation. Properly greased and operating machines are the essential procedure to follow according to design to ensure that threading proceeds as smoothly as possible.
Wrapping Up
Not using hand taps with the proper caution can lead to a series of errors. You can use the guide above to get consistently top-notch taps.
- Best Legacy Application Modernization Companies for Enterprise SystemsEnterprise legacy applications don’t fail dramatically. They degrade slowly. Features take three times as long to ship as they used to. Integrations with new tools require workarounds nobody’s proud of. The developers who understand the system deeply are either burned out or leaving. A... The post Best Legacy Application Modernization Companies for Enterprise Systems […]