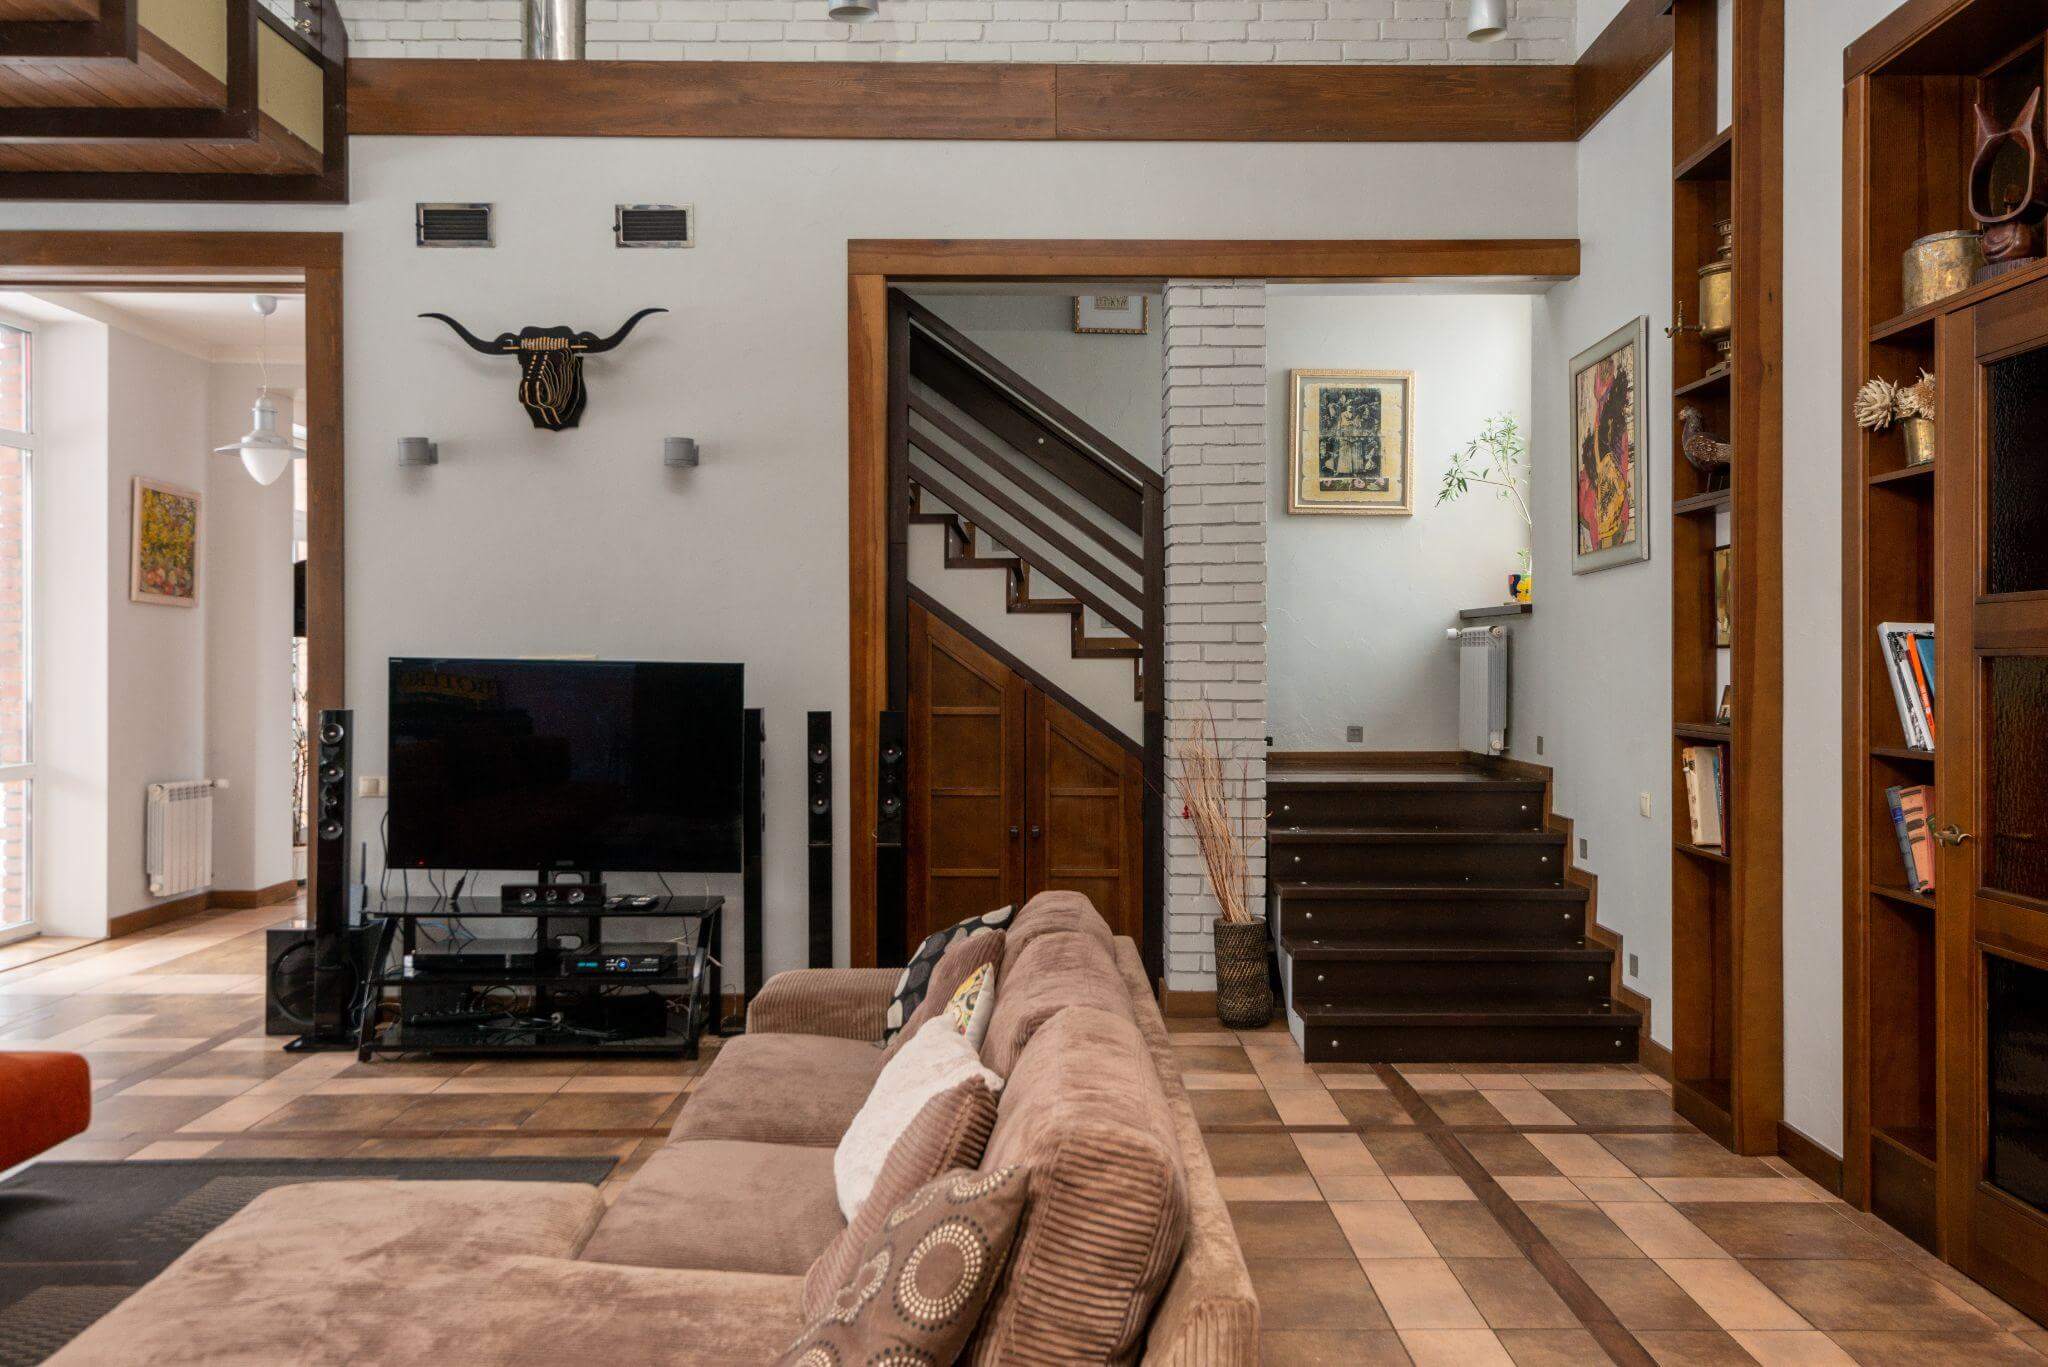
Tape is a versatile material that can be used creatively to decorate your home. Decorating your home with tape is a creative idea to add personality and style to your living space. The benefit of using tape is that it is easy to apply and remove. In addition, tape can be a budget-friendly option if you are looking to create a bold accent wall, or add some fun to your furniture.
Decorate Your Home with Tape
Before decorating a home with tape, people can be confused about which type of tape to use. The basic difference between gaffer tape and duct tape is that gaffer tape is designed for temporary use in the entertainment industry, while duct tape is designed for more permanent and heavy-duty applications. You can research gaffer tape vs duct tape to know which is best suited for your needs.
Some ideas to decorate your home with tape:
Create a Geometric Wall Art
- Start by painting your wall with a base color of your choice. Then, allow the paint to dry completely before moving on to the next step.
- Use a ruler and pencil to sketch out your desired geometric design on the wall. For example, you can create a simple triangle or a more complex diamond pattern.
- You can use different widths of tape to create more intricate designs. Make sure the edges of the tape are pressed down firmly to prevent paint from bleeding through.
- Paint over the exposed areas between the tape lines using acrylic paint and a paintbrush. You can choose a color that complements or contrasts with your base color.
- Once the paint is dry, carefully peel off the tape to reveal your geometric design. If any paint has bled through, you can use a small paintbrush to touch up the edges.
Make a Tapestry
- Cut a piece of cardboard or foam board to the desired size of your tapestry. This will serve as the base for your design.
- Draw a rough sketch of your design on the cardboard using a pencil and ruler. This will give you a guide to follow when you start adding the tape.
- Start adding the tape to the cardboard, following your sketch. You can use different colors and patterns of tape to create different shapes, lines, and textures.
- As you add more tape, continue to reference your sketch to ensure that you’re staying on track. You can also add additional details or adjust your design as you go.
- Once you’ve completed your tapestry, trim any excess tape and hang it on the wall using adhesive strips or hooks.
Add a Splash of Color to Your Furniture
- Many types of tape are available, but not all are suitable for furniture. Look for a strong, durable tape that won’t damage your furniture’s surface.
- Decide on a color scheme for your furniture. You can select multiple colors of tape. Consider the color of your walls and other decor items in the room when choosing your colors.
- Before you start taping, plan out your design. You can create stripes, polka dots, chevron patterns, or any other design you like.
- Make sure the surface of your furniture is clean and dry before you start taping.
- Once you’ve planned your design and prepped your furniture, it’s time to start taping. Apply the tape carefully, making sure it’s straight and even.
- Once you’re happy with your design and any paint has dried, carefully remove the tape. If you’re using painter’s tape, remove it at a 45-degree angle to prevent it from pulling off any paint.
Create a Photo Wall
- Creating a photo wall with tape is a simple and affordable way to decorate your home. Here are some steps to follow:
- Choose the wall where you want to create your photo wall. For example, it could be a blank wall in your living room, bedroom, or hallway.
- You can print photos at home or at a local print shop. You can choose to print them in black and white, color, or sepia tones, depending on your preference.
- Use scissors to trim any excess white space or borders around your photos.
- Use a measuring tape to mark where you want to place your photos. You can use a pencil to lightly mark the spots where you want to place your photos.
- Start with one photo in the center of your wall. Then, tape the photo to the wall using a small piece of tape on each corner.
- Use the center photo as a reference point for the rest of your photos. You can create a symmetrical pattern or a random arrangement of photos.
- You can leave equal spaces between each photo or play around with the spacing to create a more organic look. You can also overlap some of the photos to create a layered effect.
- Once you have all your photos up, step back and take a look at your photo wall. Adjust any photos or spacing as needed.
Decorate Your Stairs
- Select the tape you want to use to decorate your home stairs. You can choose a single color or a variety of colors and patterns.
- Use a measuring tape to measure the width and height of each stair. This will help you determine how much tape you need for each stair.
- Sketch out a design for your stairs on a piece of paper. This will help you visualize how you want your stairs to look before you start taping.
- Begin at the bottom of your stairs and work your way up. Use a small piece of tape to secure the end of the tape to the stair.
- Once you’ve covered each stair, use scissors to trim any excess tape from the edges.
- If desired, you can add additional tape designs or accents to your stairs, such as stripes or polka dots.
Conclusion
Decorating your home with tape can be a creative and budget-friendly way to add some color and personality to your space. There are countless ways to incorporate tape into your home decor, from creating unique wall art to adding accents to furniture and accessories.
However, it’s important to choose a high-quality tape that won’t damage your walls or furniture and to make sure you don’t overdo it with too many different colors and patterns. With some creativity and planning, you can use tape to transform your home into a personalized and stylish one.
Ava Clarkson
Related posts
Stay connected
Today's pick
- Enhance Your Images: Effortlessly Remove Object from Photo Today!In today’s visually-driven world, the quality of images plays a crucial role in attracting attention and conveying messages effectively. Whether you’re a professional photographer, a social media influencer, or an e-commerce entrepreneur, having clean and polished images is essential. However, sometimes unwanted objects or elements... The post Enhance Your Images: Effortlessly Remove Object from Photo […]

