
It is necessary to upgrade your house after a few years by renovating it. Here are some practical tips about thorough post-renovation cleaning. It is essential to thoroughly clean up your newly renovated house for improved indoor air quality. This is done by removing effectively all the construction dust accumulated during the renovation process.
Next, it is crucial to completely remove the thick layer of dust covering the walls, ceiling, floors and windows after renovation. Follow the steps below for a thorough post renovation cleaning of your house. However, if you need post renovation cleaning services in Malaysia at an affordable price, you can contact Cleaning Services Malaysia which is based in Kuala Lumpur for a quotation.
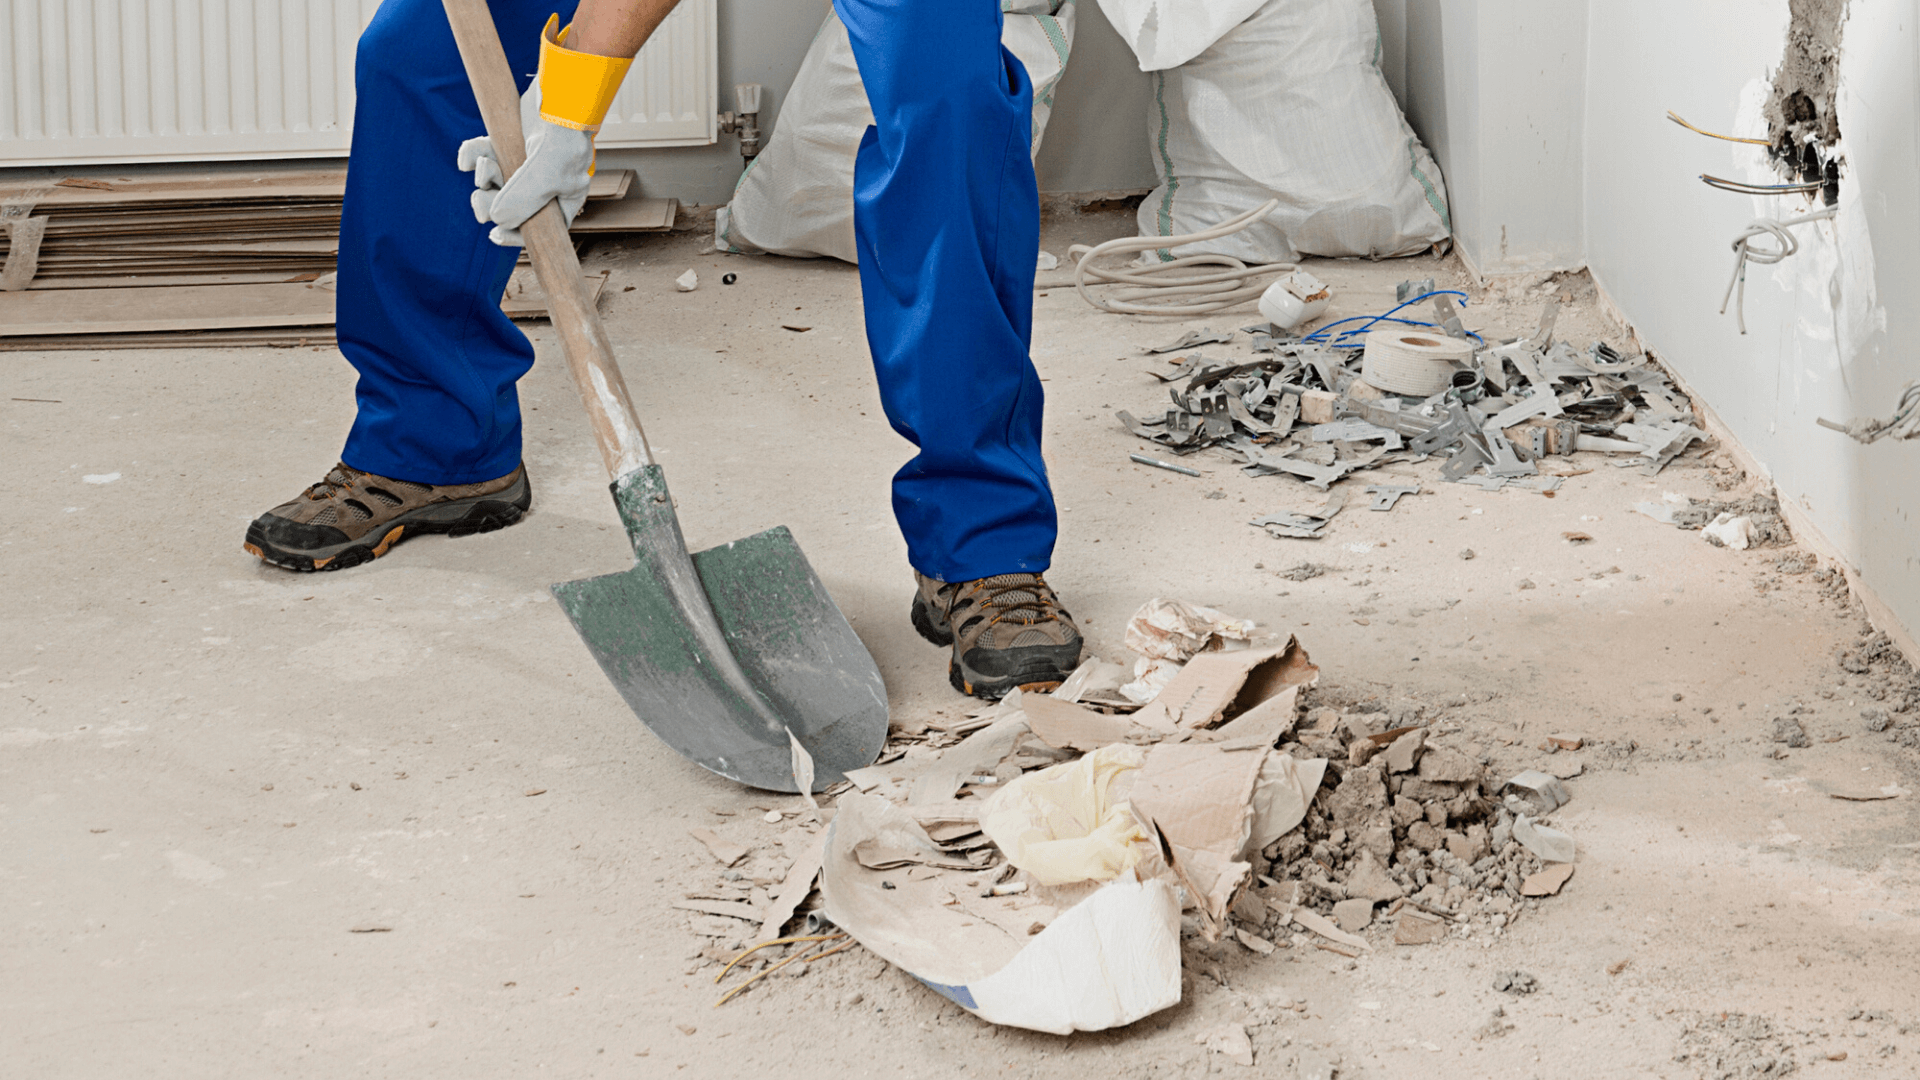
Preparing for Post-Renovation Cleaning
Cleaning up after a renovation can be a daunting task, especially if you don’t have the right tools and supplies. Before starting the cleaning process, it’s important to gather everything you need for a thorough clean-up. This will not only make your work easier but also save you time and energy.
Necessary Tools and Supplies
The following are the necessary tools and supplies you’ll need for post-renovation cleaning:
- Dust masks: You’ll be dealing with a lot of dust during the cleaning process, so it’s essential to wear protective gear such as dust masks to avoid inhaling harmful particles.
- Vacuum cleaner: A high-powered vacuum cleaner is crucial in picking up dust, debris and small particles that may have settled on carpets, floors or upholstery.
- Brooms and mops: Brooms come in handy when sweeping debris off floors while mops help in cleaning hard surfaces like tiles or hardwood floors.
- Cleaning solutions: Have an assortment of cleaning solutions at your disposal including all-purpose cleaners, specialized cleaners for different surfaces like tile grout, glass cleaner etc.
- Gloves: It’s essential to wear gloves when handling harsh chemicals while cleaning to protect your hands from irritation or injury.
Tips on Protecting Furniture, Floors, and Walls During Cleaning Process
During renovation clean-up, it’s important to take extra care when protecting furniture, floors and walls from damage that can occur during the cleaning process. Below are some tips on how best to protect these items:
- Furniture protection – Cover your furniture with plastic sheets or old bed sheets before commencing any kind of cleaning. If possible move furniture out of harm’s way to prevent accidental damage.
- Floor protection – Use drop cloths or plastic tarps to cover floors during the cleaning process. This will protect them from dust, debris and cleaning solutions.
- Wall protection – Use painter’s tape on walls to protect them from scratches and scuffs that may occur when moving furniture or cleaning hard-to-reach areas.
By following these tips and making sure you have all the necessary tools and supplies, you’ll be able to carry out a successful post-renovation clean-up without any issues.
Cleaning Walls and Ceilings
Cleaning walls and ceilings may seem like a daunting task, but it can be done efficiently by following these simple steps. First, start by removing any loose dirt or debris on the wall or ceiling using a soft-bristled brush or vacuum cleaner with a soft brush attachment.
Be sure not to apply too much pressure while cleaning painted walls as it may cause damage. For wallpapered walls, use a duster to remove dust particles without wetting the surface.
Next, mix warm water with mild soap or detergent in a bucket. Use a clean sponge or cloth dampened in soapy water to wipe down the wall surfaces gently.
Begin working from the top of the surface and move downwards towards the floor. For stubborn stains on painted surfaces, use baking soda mixed with warm water on an old toothbrush to scrub gently till they disappear.
When cleaning brick surfaces such as fireplaces or exposed brick accent walls that have been renovated, avoid using acidic cleaners as they may cause discoloration on brick surfaces. Instead, use warm water mixed with gentle soap to wipe down these areas.
Types of Walls
Different types of walls require different cleaning methods to maintain their quality after renovation. For painted walls: Use mild soap combined with warm water for wiping off dirt and grime of any sort from the surface area without damaging paintwork; To clean stains in areas like kitchen where grease might accumulate over time try using white vinegar solution instead of soap solution for better results
For wallpapered walls: Make sure that you do not use too much liquid while cleaning wallpapered surfaces as it can damage them over time; Use dry cloth for removing excess dust accumulation before starting moist wiping For brick walls: Use warm water mixed with gentle soap to wipe down brick surfaces; Avoid using acidic cleaners as they may cause discoloration on brick surfaces.
Cleaning Floors
Removing Dust, Debris, and Stains from Different Types of Floors
After a renovation project, floors tend to accumulate a lot of dust and debris. The type of floor you have will determine the best approach to removing debris. For hardwood floors, vacuuming or sweeping is an excellent way to remove any loose dirt or dust that may have settled on the surface.
However, if there are any tough stains on your hardwood floor, you can use specially formulated cleaning products that are gentle enough to protect the finish while effectively lifting stains. For tile floors, sweep or vacuum first to remove dust and debris.
Next, use a solution of warm water mixed with a mild detergent or floor washer specifically formulated for tiles. Avoid using harsh chemicals such as bleach on tiles as it can damage the grout and tiles themselves.
With carpeted floors, vacuuming is essential before attempting any deep cleaning as it helps in getting rid of loose dirt and debris that could be trapped within the fibers of the carpet. A steam cleaner is highly effective in removing stubborn stains from carpets after renovation.
For thorough post-renovation cleaning, using specialized equipment like floor scrubbers and sweepers from SweepScrub can help tackle dust and debris efficiently.
Properly Mopping or Vacuuming Floors after Renovation
Mopping and vacuuming are both important steps in properly cleaning your floors after renovation. For hardwood floors, avoid soaking them with water while mopping as this can lead to warping or cupping over time. Instead, dampen your mop slightly before running it over your hardwood floor in sections until each part is clean.
Be sure to use gentle cleaning solutions when mopping your hardwood floors. For tile floors, mopping is also an essential step in getting rid of stubborn dirt spots that may have accumulated during renovation.
After sweeping away loose dirt and debris from tile flooring surfaces using a soft-bristled broom or a dry mop head specifically designed for tile surfaces (to prevent scratching), wet mop with a solution of warm water mixed with a mild detergent or floor cleaner. Rinse the mop regularly and repeat the process until each part of the tile flooring surface is clean.
For carpets, vacuuming after renovation is essential to remove any lingering dust and debris that may have accumulated over time. Using a high-powered vacuum cleaner, slowly run your machine over your carpet in sections until every part is clean and free of dust and debris.
For tough stains, use a steam cleaner as previously mentioned. Cleaning the floors of your home can be daunting but following these tips will make it easier for you to keep them clean after undergoing any renovation project.
Cleaning Inside Windows
To clean inside windows, start by removing any curtains or blinds from the window. Use a soft-bristled brush to remove any loose dust or debris from the window frame and sill.
Then use a microfiber cloth and a mild cleaning solution to wipe down the glass surface of the window. Avoid using abrasive cleaners as they can scratch or damage the glass.
For stubborn stains such as paint or adhesive residue, use a scraper tool to carefully remove them from the glass surface. Be sure to follow up with additional cleaning solution to ensure that there is no residue left on the glass.
Cleaning Outside Windows
Cleaning outside windows requires some additional effort as you will need access to both sides of the window. If your home has multiple floors, consider hiring a professional cleaner with safety equipment.
Start by removing any loose dirt or debris from around the window using a soft-bristled brush or garden hose. Then use a squeegee and cleaning solution to wash down each pane of glass, starting from top to bottom, making sure that you remove all excess water with your squeegee after each stroke.
For paint or adhesive residue on outside windows, try using white vinegar mixed with warm water in equal parts; this combination will help dissolve adhesives and loosen up paint residues without damaging underlying surfaces like wood frames when used correctly. Keep in mind that regular maintenance will help keep your windows clean longer between deep-cleaning sessions!
Cleaning Light Fixtures
Cleaning light fixtures may seem daunting, but it’s easier than you might think. First, turn off the electricity to the fixture before removing any bulbs or shades. Then use a soft-bristled brush or microfiber cloth to gently remove any dust or cobwebs from the fixture.
For more stubborn dirt or grime, mix some mild dish soap with warm water and dab it onto the affected area with a soft cloth. Be careful not to get any water on electrical parts of the fixture.
Faucets
Faucets can get covered in mineral deposits, soap scum, and other unsightly marks after a renovation. To clean them properly, start by soaking a cloth or paper towel in white vinegar for 30 minutes.
This will help break down any hard water stains on your faucet’s surface area making it easier to scrub away once you’re finished soaking your cloths. Once you have soaked the faucet area in vinegar for at least 30 minutes then start scrubbing using an old toothbrush or sponge with this vinegar solution mixture over your faucet’s spout itself before moving onto its handles if applicable– but make sure not to use abrasive materials which can scratch delicate finishes!
Sinks
Sinks can be cleaned using dish soap and warm water solution applied using a sponge until there is a good lather all over the sink surface area which is then left for 10-15 minutes before being rinsed away thoroughly with warm water under medium pressure from your tap. If there are tough stains left on your sink after cleaning like rust marks or water stains, try a scouring pad or baking soda and vinegar mixture to remove them. Both methods require a good amount of elbow grease but will leave your sink looking brand new.
Toilets
Toilets can be the most challenging fixtures to clean after a renovation, but there are ways to make it easier. Begin by pouring an appropriate amount of toilet bowl cleaner into the bowl and let it sit for at least 10 minutes to break up any stains or grime. Then use a toilet brush to scrub the bowl, including under the rim and around the edges using low intensity force making sure you cover all angles.
For tough stains, consider using pumice stones designed specifically for cleaning toilets or vinegar solution instead of commercial cleaners. Flush and rinse away all cleaner residue from inside the toilet with fresh water from your tank before finishing up with wiping down outside surfaces with disinfectant wipes or spray.
Air Ducts and HVAC Systems
The Importance of Cleaning Air Ducts
Air ducts and HVAC systems play a crucial role in maintaining a healthy indoor environment. During home renovation, dust, debris, and other contaminants can accumulate in these systems.
When this happens, the quality of indoor air becomes compromised, which can lead to respiratory problems or allergies. That is why it is necessary to clean your air ducts and HVAC system after every renovation.
Cleaning air ducts and HVAC systems involves removing accumulated dust, debris as well as mold or fungi that may have grown inside the ductwork. To achieve a thorough cleaning result, it is advisable to hire professional cleaners that use specialized equipment such as rotary brushes or high-powered vacuums.
Professionals identify potential issues such as leaks or clogs in your air duct system during their cleaning process. Thus they help minimize energy consumption by improving airflow through your system.
Conclusion
Post-renovation cleaning can be overwhelming but worth the effort if you want to maintain a clean and healthy living space for you and your family. Always wear protective gear when cleaning; dust masks protect lungs from inhaling harmful particles while gloves protect hands from harsh chemicals used during cleaning. Thoroughly preparing for post-renovation cleanup ensures that all surfaces are cleaned appropriately without damaging them yourself.
Following all these steps will ensure every nook and cranny in your home is properly cleaned after any significant renovation project. In addition, hiring professional cleaners for tasks like carpet cleaning will help ensure a better outcome since trained professionals have specialized knowledge on how best to handle different surfaces safely without causing damage while ensuring everything is left spotless – allowing you to sit back and relax in your beautifully renovated home!
- Renovate or Rebuild? What to Consider If Your Melbourne Home Needs Major Structural WorkIf your Melbourne home requires extensive structural work, you may be wondering whether it’s better to restore what’s already there or begin again with a brand-new home. Navigating the renovate vs rebuild Melbourne decision can seem complex at first, but taking the time to understand... The post Renovate or Rebuild? What to Consider If Your […]