Have you ever encountered a plumbing issue, only to realize that you don’t know how to fix it? Instead of calling a plumber, why not try to tackle the issue yourself? DIY plumbing can be a great way to save money and learn a few skills. So, if you want to avoid spending money on a professional, these are tasks you can handle hassle-free. And for those you can’t handle, hire a plumber.
1. Replacing a washer
Replacing a washer is one of the easiest plumbing tasks to tackle, and it doesn’t take much time or money. The best way to start is to get the right type of washer for your faucet. Check the size and material of the washer before purchasing one.
Once you have the right washer, turn off the water to your faucet and use a wrench to loosen the nut holding the washer in place. Carefully remove the old washer from the faucet and replace it with your new one.
2. fixing a leaky faucet
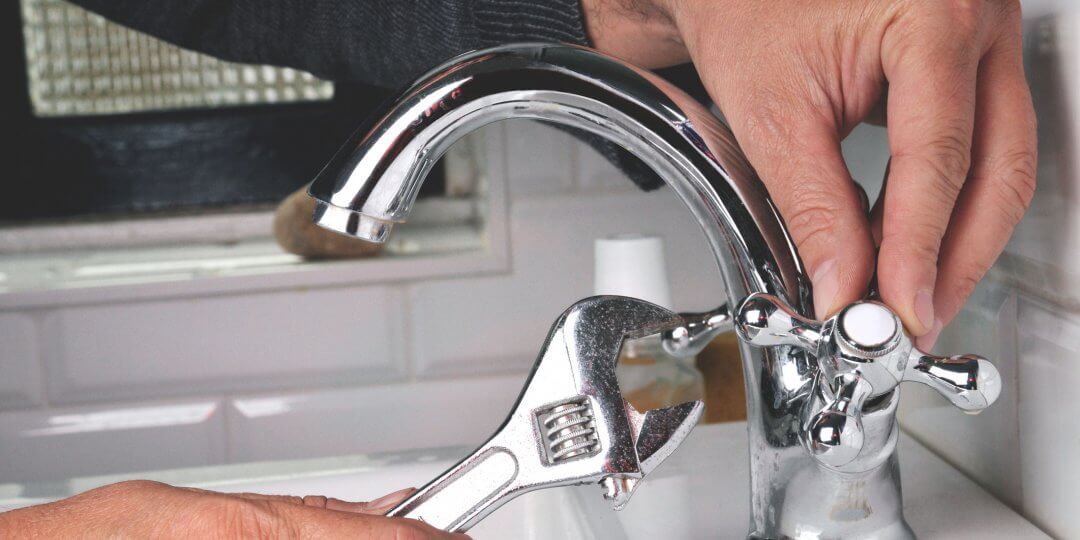
One of the most common plumbing problems homeowners face is a leaky faucet. Not only is it annoying, but it can also lead to expensive water bills. Fortunately, this is an easy fix that you can do yourself with a few basic tools.
First, you will need to turn off the water supply. This can usually be done by finding the shut-off valve beneath the sink and turning it clockwise until it stops.
Once the water supply is off, you can remove the faucet handle. You may need to use a flat-head screwdriver or a wrench to remove any screws holding it in place.
Once the handle is removed, you can access the faucet’s internal components. Inside, you should find a rubber washer and a metal washer. These are responsible for keeping the water inside the faucet, so if worn or cracked, they will need to be replaced.
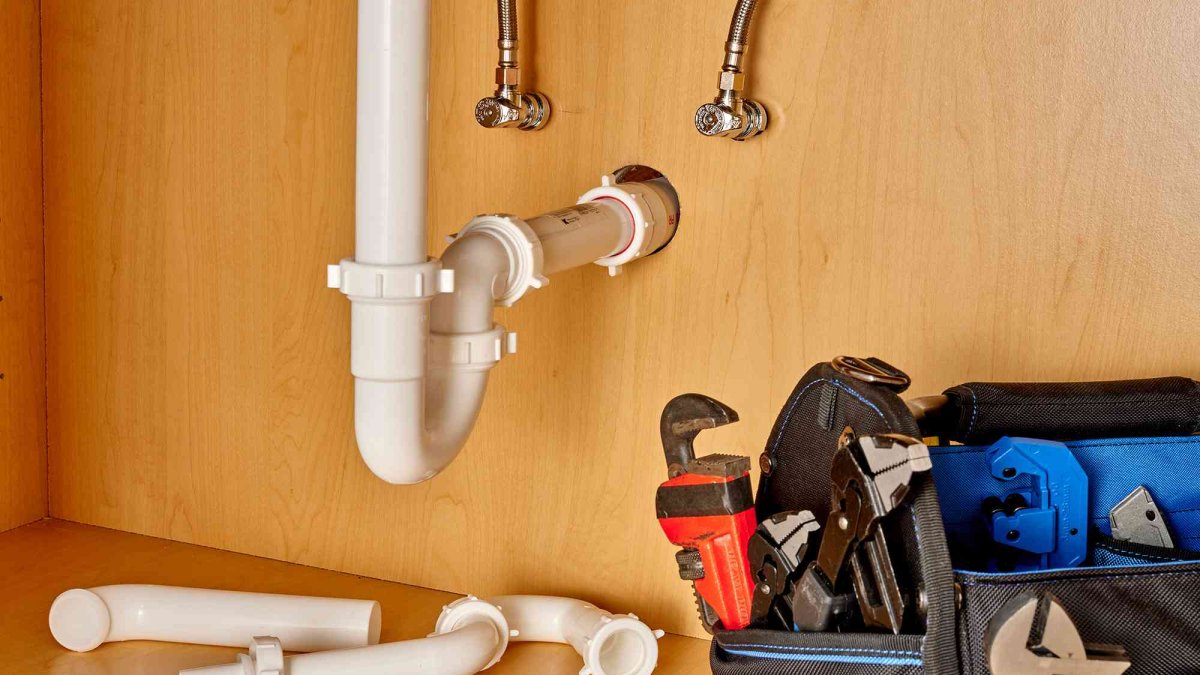
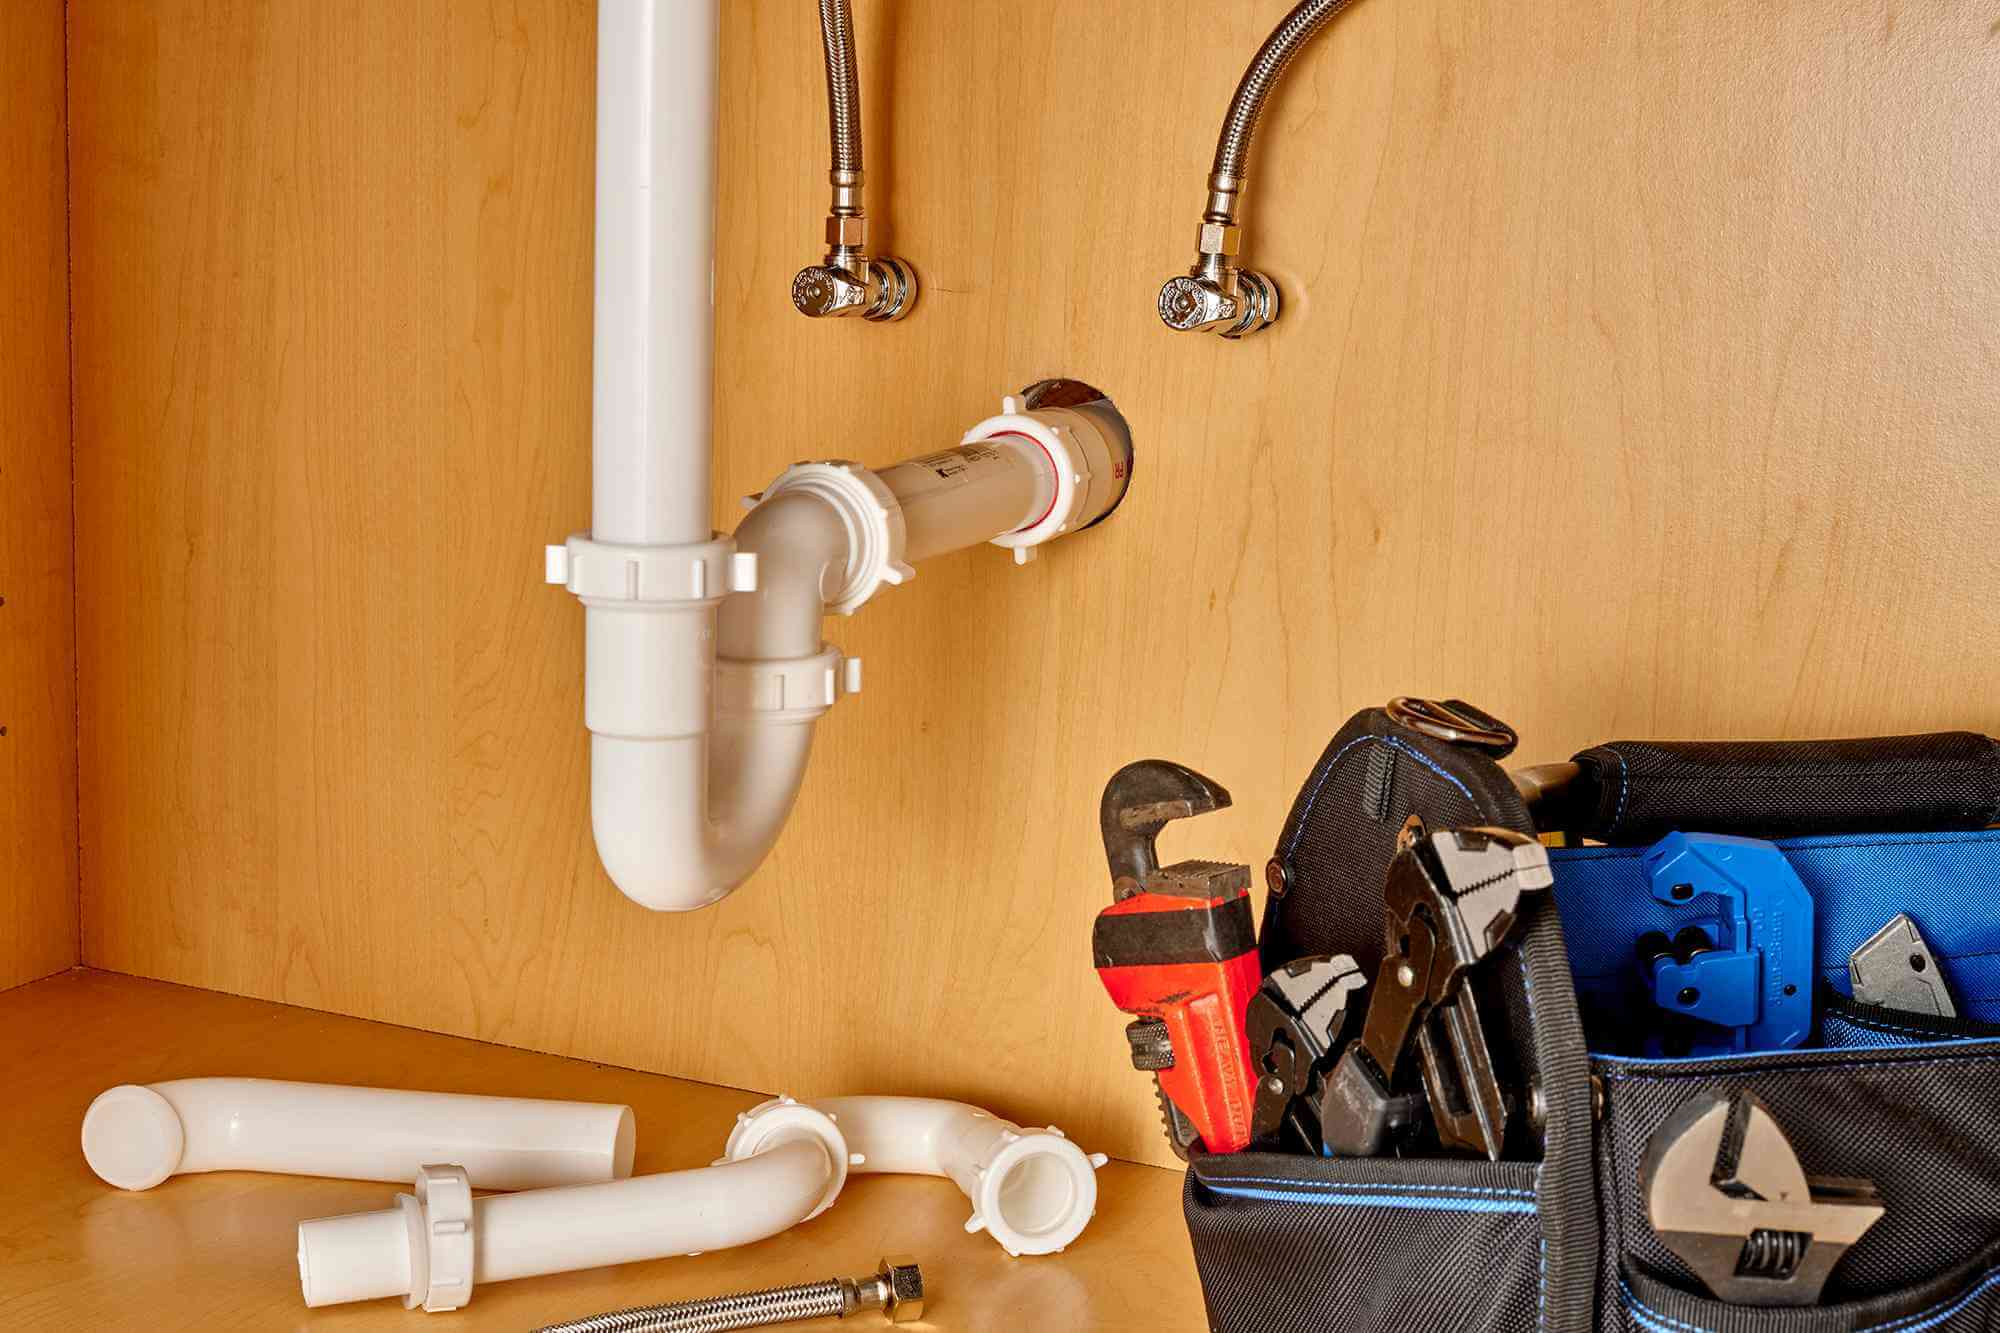
3. Unclogging a sink
If you’re faced with a clogged sink, don’t panic! Fixing a clogged sink is simple and can be done with simple tools.
If the clog is caused by something visible, you can remove it with a pair of pliers or a wire coat hanger. If the clog isn’t visible, it’s time to move on to the next step.
The next step is to use a plunger to attempt to remove the clog. Place the plunger over the drain and fill the sink with water to cover the plunger. Pump it up and down several times, then pull it off quickly. This should create suction that will help to break up the clog. Repeat this process until the clog is cleared.
Replacing a showerhead
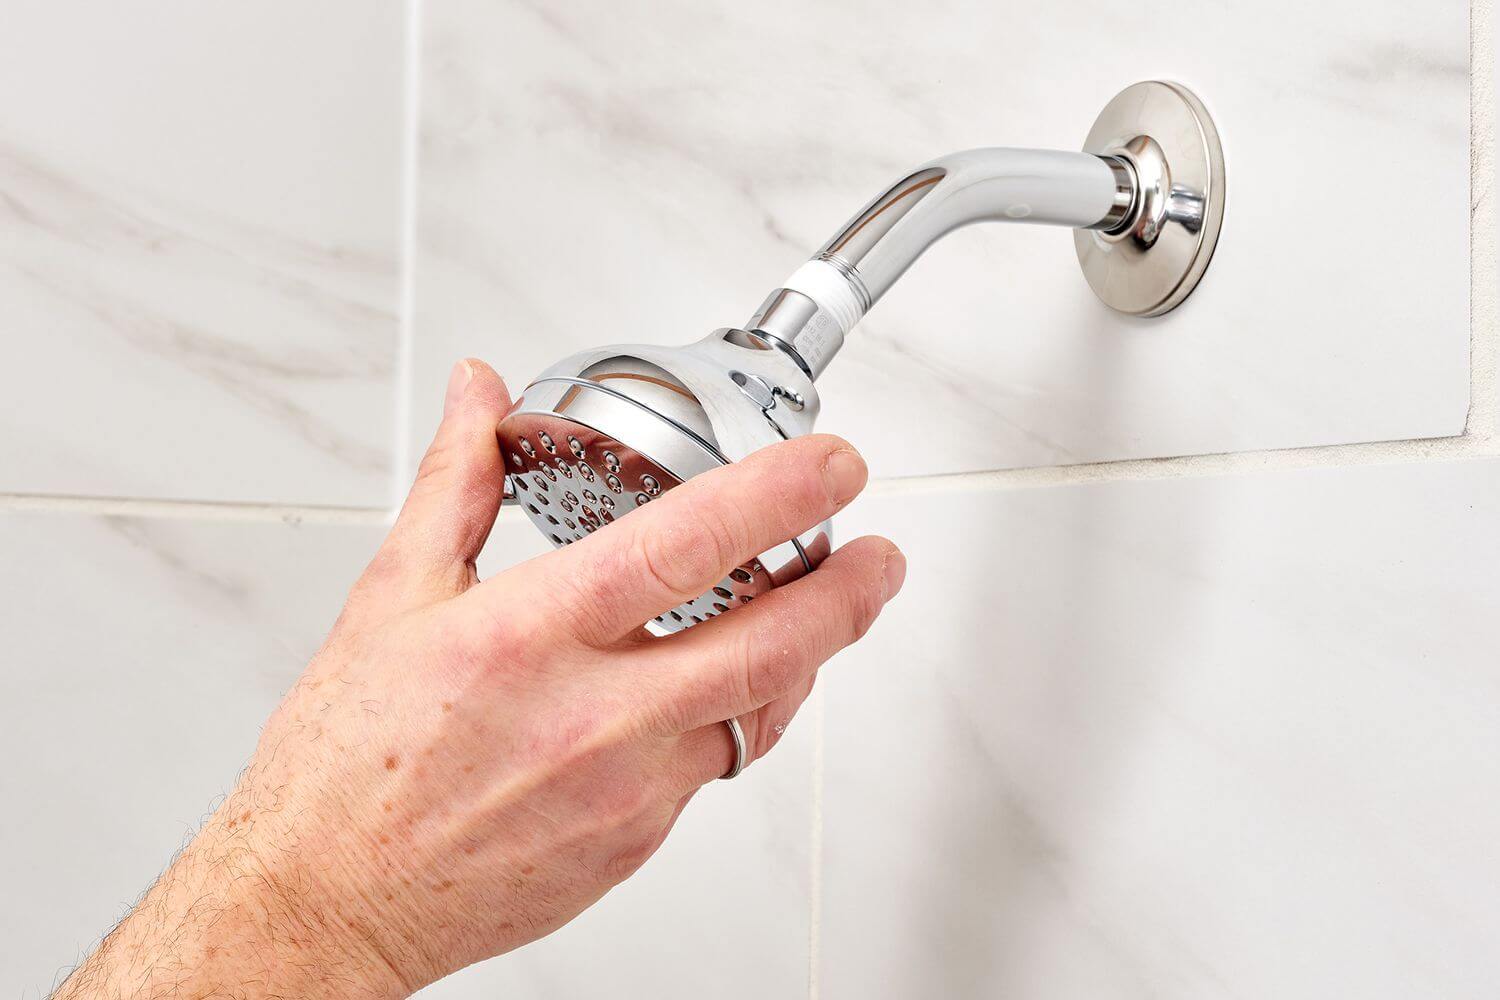
Shower heads can become worn out or clogged over time, reducing water flow or poor water pressure. If your shower head shows wear and tear, replace it with a new one.
Fortunately, replacing a shower head is a simple DIY plumbing task that anyone can accomplish in just a few minutes.
The first step is to ensure you have all the tools you need for the job: a pair of pliers, an adjustable wrench, and some Teflon tape. You’ll also need to purchase a new showerhead from your local hardware store. Once you have all the necessary supplies, it’s time to start.
Begin by turning off the water supply to the shower, usually found in the bathroom wall or ceiling. After the water has been turned off, use the adjustable wrench to unscrew the existing shower head from the pipe.
Once it’s removed, wrap a few layers of Teflon tape around the threads of the new shower head and screw it onto the pipe. Make sure you don’t over-tighten the new shower head, as this could lead to damage.
- Renovate or Rebuild? What to Consider If Your Melbourne Home Needs Major Structural WorkIf your Melbourne home requires extensive structural work, you may be wondering whether it’s better to restore what’s already there or begin again with a brand-new home. Navigating the renovate vs rebuild Melbourne decision can seem complex at first, but taking the time to understand... The post Renovate or Rebuild? What to Consider If Your […]