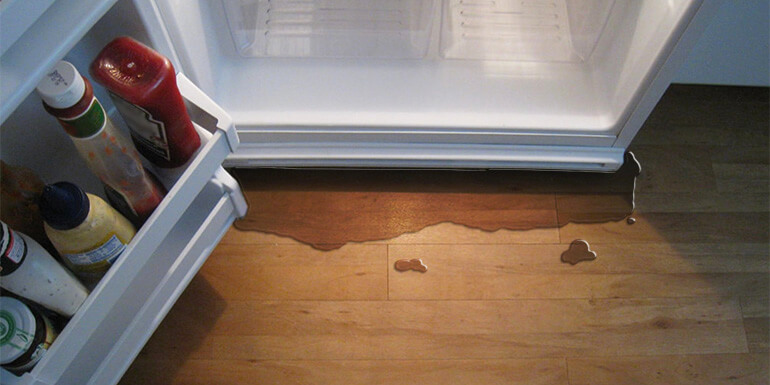
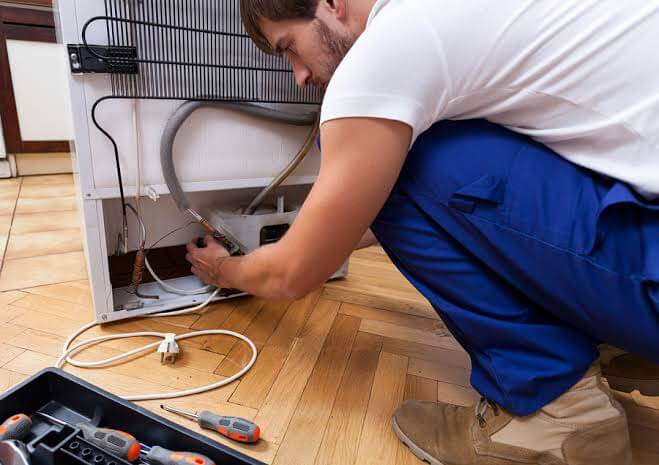
One of the most typical issues we encounter is water leaking from a fridge. The problem is unlikely to go away on its own, and if not addressed, water can cause damage to the electrical components beneath the refrigerator. Fortunately, in the majority of situations, the issue is simple to resolve. And, if you know what to avoid, you can typically avoid the problem. Sometimes you can fix the problem yourself, but usually, you might need the help of a GE fridge repair technician. For these purposes, we recommend using the services of “appliancerepairexpert.ca“.
You want your refrigerator to stop leaking so you don’t have to clean up puddles or risk costly long-term damage. Unfortunately, because refrigerators deal with ice, water, and condensation, a leak can result from a variety of factors. Fortunately, not all of them need major repairs, and all of them are simple to explore.
Here’s how to find out the cause of a water leak in your refrigerator and how to fix it.
Water supply line
Leaky water supply lines and/or input valves cause refrigerator leaks. If your water dispenser isn’t creating enough ice or isn’t flowing properly, check your water supply line. Remove your device from the walls like a wall clock or a thermostat and look for the plastic line connecting your ice machine and water filter. Replace the hose if water is leaking from it since this is the source of the leak. Turn off the water supply before replacing the hose if you’re doing it yourself.
Water filter
This might be the source of your leak if your fridge contains a water filter. Perhaps the filter’s connection has broken. Perhaps someone fitted a filter that is too tiny, or perhaps the filter is old and damaged and needs to be replaced. If you’re adept with a wrench, you can change the water filter yourself. But if you’re not sure you can handle this kind of troubleshooting, give us a call. We’ll identify the source of the leak — or sources if there are several leaks — and, if required, replace your filter. Most of the time, we’ll already have the necessary parts on hand.
Inlet valve
The water inlet valve is the next component to inspect to determine whether it’s the source of your fridge’s leak. The water inflow valve is responsible for opening and supplying water to the ice maker and dispenser. It is possible for water to leak if the valve develops a crack or the fittings become loose.
You may inspect the water input valve by doing the following:
- Using the wall switch to turn off your refrigerator.
- To gain access to the rear of your refrigerator, pull it away from the wall.
- Locate the valve by removing the lower panel.
- Examine the water inlet valve for cracks and make sure it’s linked to the water supply line properly.
- It is OK and not the source of the problem if there are no fractures and it is firmly connected to the water supply line. If you discover it damaged, though, you’ll have to replace it.
- Replace the lower panel on the refrigerator, reassemble the refrigerator, and turn it back on.
Clogged defrost drain
Here’s how to look for and fix this issue. Remove any frozen food items that are covering the defrost drain. Make a clean channel from the drain to the ceiling and wait a day to see if the issue goes away. If the puddles persist, empty the freezer, disconnect it, and remove the defrost drain lid. Pour warm water into a turkey baster and pour it down the drain. This should unfreeze any obstructions in the line, allowing you to use the refrigerator again. Over the following several days, you may need to clear the drain pan manually. If no further water drains from the defrost drain, the blockage may still be there. Unplug the unit, move it away from the wall, and physically inspect the drain line. This is the line that connects the freezer to the under-bed of the refrigerator. Use a pipe cleaner or a bottle brush to unclog it.
Refrigerator drain pan
The drain pan is another probable source of the leak. Your refrigerator will include a drain pan that collects water that melts from the evaporator coils if it is self-defrosting. The condenser fan, which pushes warm air over the pan, evaporates the water over time. A leak will emerge if the drain pan develops a crack.
You may inspect the drain pan by doing the following:
- Turning off your refrigerator at the wall and pulling it out so you can get to the rear of it.
- Locate the drain pan at the rear of your refrigerator; you’ll probably have to remove the refrigerator’s bottom back panel to get to it.
- Check for cracks in the drain pan.
- Replace the drain pan if it is cracked.
Outside refrigerator leaking
Excessive humidity might cause a refrigerator to leak water outside. Moisture in the air can combine with the water already in the refrigerator on hot and humid days, causing leaks. When the bottom of your Samsung refrigerator leaks, it’s because moisture builds up in the drain pan and spills onto the floor. On humid days, emptying the drain pan can aid the evaporation process and prevent leaks. Reduce the humidity in the air by lowering the kitchen temperature using fans or air conditioning, if feasible, and keep the aesthetic lights off.
What to do if you can’t solve the problem yourself?
Can’t determine the cause or fix the breakdown on your own? Don’t panic, and don’t rush to buy a new refrigerator. Many problems can be solved. If you have a problem with the repair or aren’t sure if you can handle the replacement yourself, we recommend contacting an expert from Appliance Repair Expert. Make an appointment with an experienced GE refrigerator service technician. He’ll come out and fix your appliance problems quickly.
Remember: regularly checking and following refrigerator maintenance tips can also help avoid a leaky refrigerator. This advice applies to any appliance, so don’t neglect it and enjoy long-lasting appliances.
Liam Smith
Related posts
Stay connected
Today's pick
- Why Professional Rigging Matters for Major Home RenovationsMajor home renovations look very different today than they did even twenty years ago. Homes are larger, materials are heavier, and design trends increasingly rely on structural elements such as steel beams, oversized windows, rooftop equipment, and prefabricated components. Whether it is a full home... The post Why Professional Rigging Matters for Major Home Renovations […]


