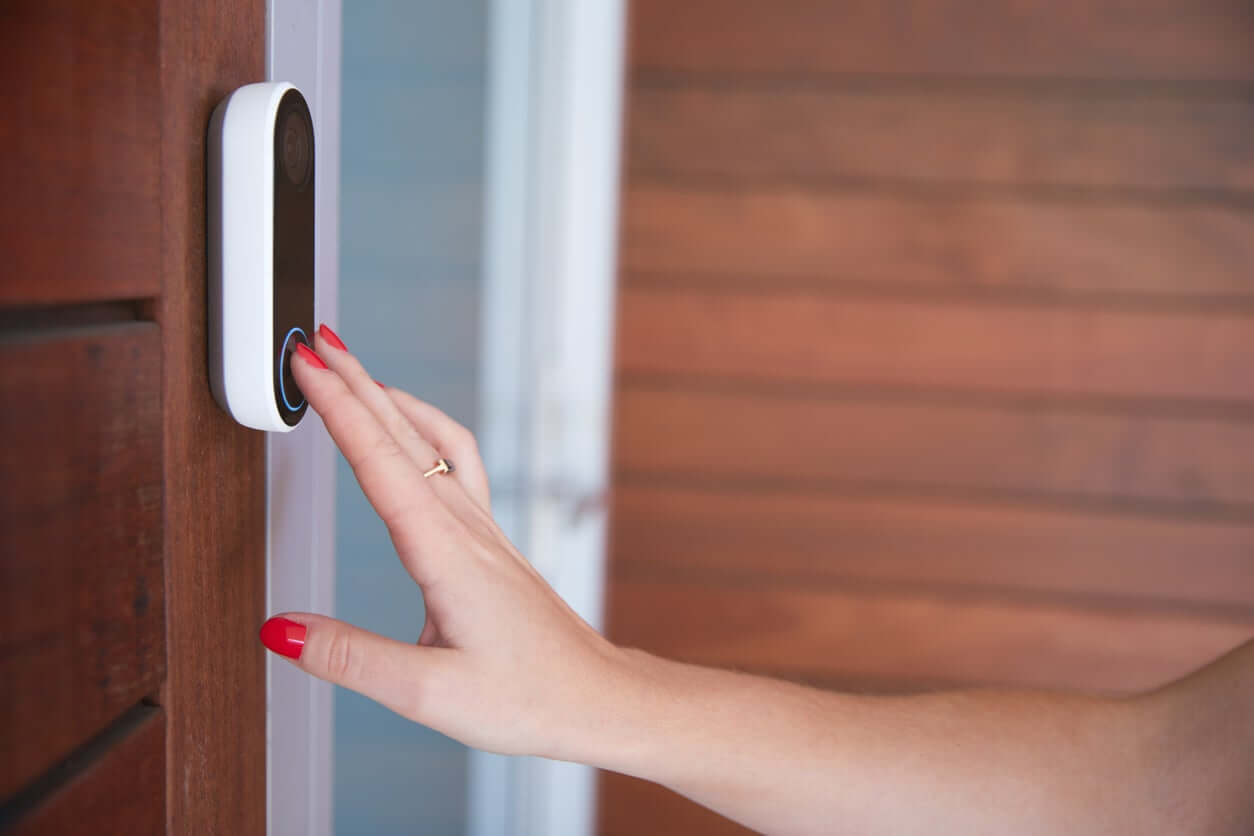
Installing a wireless doorbell is a simple and inexpensive way to boost the security of your home. This article will discuss wireless doorbells, their benefits and drawbacks, and the tools and materials needed for installation. We will also provide a step-by-step guide for installing a wireless doorbell and address people’s most common questions and issues.
What is a Wireless Doorbell?
A wireless doorbell can alert you when someone is at your door. This type of doorbell does not require any wiring. Instead, it uses radio signals to transmit a signal from the doorbell to the receiver. The receiver is usually placed inside the house and can be set to sound an audible alert when someone pushes the button on the doorbell. This lets you be notified when someone is at your door without constantly checking. Read reviews and compare features when shopping for the perfect wireless doorbell.
Pros and Cons of Wireless Doorbells
Wireless doorbells have both pros and cons. On the plus side, they require no wiring, making them perfect for renters or those who don’t want to do extensive installation work. Also, they are incredibly convenient and come in various styles and price points.
On the downside, they tend to be more expensive than wired doorbells; they require batteries, which you must replace periodically. Also, the signal range of a wireless doorbell is limited and may not work in larger homes.
Finally, if your home is prone to interference, you may have to replace your wireless doorbell more frequently.
Tools and Materials Needed for Installation
Installing a wireless doorbell is relatively straightforward. Still, it requires a few tools and materials. The necessary tools and materials for installation include a drill and drill bits, a ladder, a stud finder, a Philips head screwdriver, and a level. You’ll also need the wireless doorbell kit, including the bell, the push button, and any necessary mounting hardware. If you don’t have these items, you may need to purchase them from a local hardware store before beginning installation.
Step-by-Step Installation Guide
Once you have the necessary tools and materials, it’s time to start installing your wireless doorbell. This step-by-step guide will walk you through the entire process.
The first step is to locate the spot where you’re going to mount the doorbell. It should be close enough to the door that the wireless signal can reach it easily. You may need to use a stud finder to locate the appropriate spot for the doorbell.
Next, use a drill to make the necessary holes for the screws. Make sure that the holes are deep and wide enough for the screws. Then, use a screwdriver to secure the doorbell in place.
Once you’ve secured the doorbell, it’s time to connect the wiring. Depending on the doorbell type, this process may vary. Follow the instructions in the user’s manual for your specific doorbell.
Now it’s time to connect the doorbell to a power source. You can use either a battery or a transformer. If you use a battery, follow the instructions in your user manual. If you are using a transformer, install it according to the manufacturer’s instructions.
Finally, you’ll need to pair the doorbell with the chime unit. To do this, you’ll need the manufacturer’s instructions. Once the doorbell is paired with the chime unit, you can hear the doorbell anywhere in your home.
And that’s it — you’ve successfully installed your wireless doorbell. With just a few simple steps, you can have a doorbell that will alert you whenever someone comes to your door.
Troubleshooting Common Issues
Troubleshooting common issues is the final step of the installation. A few common issues that can be checked if the doorbell isn’t working correctly. In most cases, the first thing to check is if the power source is properly connected. Check the batteries or power supply to ensure they’re correctly connected and functioning. The receiver may need a reset if the doorbell is still not working. Once the receiver is reset, it should be tested to ensure it’s properly connected and is receiving signals from the doorbell. Also, if the doorbell is not ringing, the distance between the doorbell and the receiver may be too far. If so, the distance should be reduced to ensure the doorbell is receivesg signals from the receiver. Lastly, the chime may need to be adjusted to the desired volume if the sound is too low.
Conclusion
Installing a wireless doorbell is surprisingly straightforward. While it may require a few tools and materials, the installation process is relatively intuitive. With patience and careful attention to detail, almost anyone can install a wireless doorbell.
In conclusion, installing a wireless doorbell is a great way to update your home with this modern convenience. With its easy installation, affordability, and reliability, it’s no wonder why so many people are choosing to upgrade their doorbells.
Martin Ellis
Related posts
Stay connected
Today's pick
- Why Professional Rigging Matters for Major Home RenovationsMajor home renovations look very different today than they did even twenty years ago. Homes are larger, materials are heavier, and design trends increasingly rely on structural elements such as steel beams, oversized windows, rooftop equipment, and prefabricated components. Whether it is a full home... The post Why Professional Rigging Matters for Major Home Renovations […]

