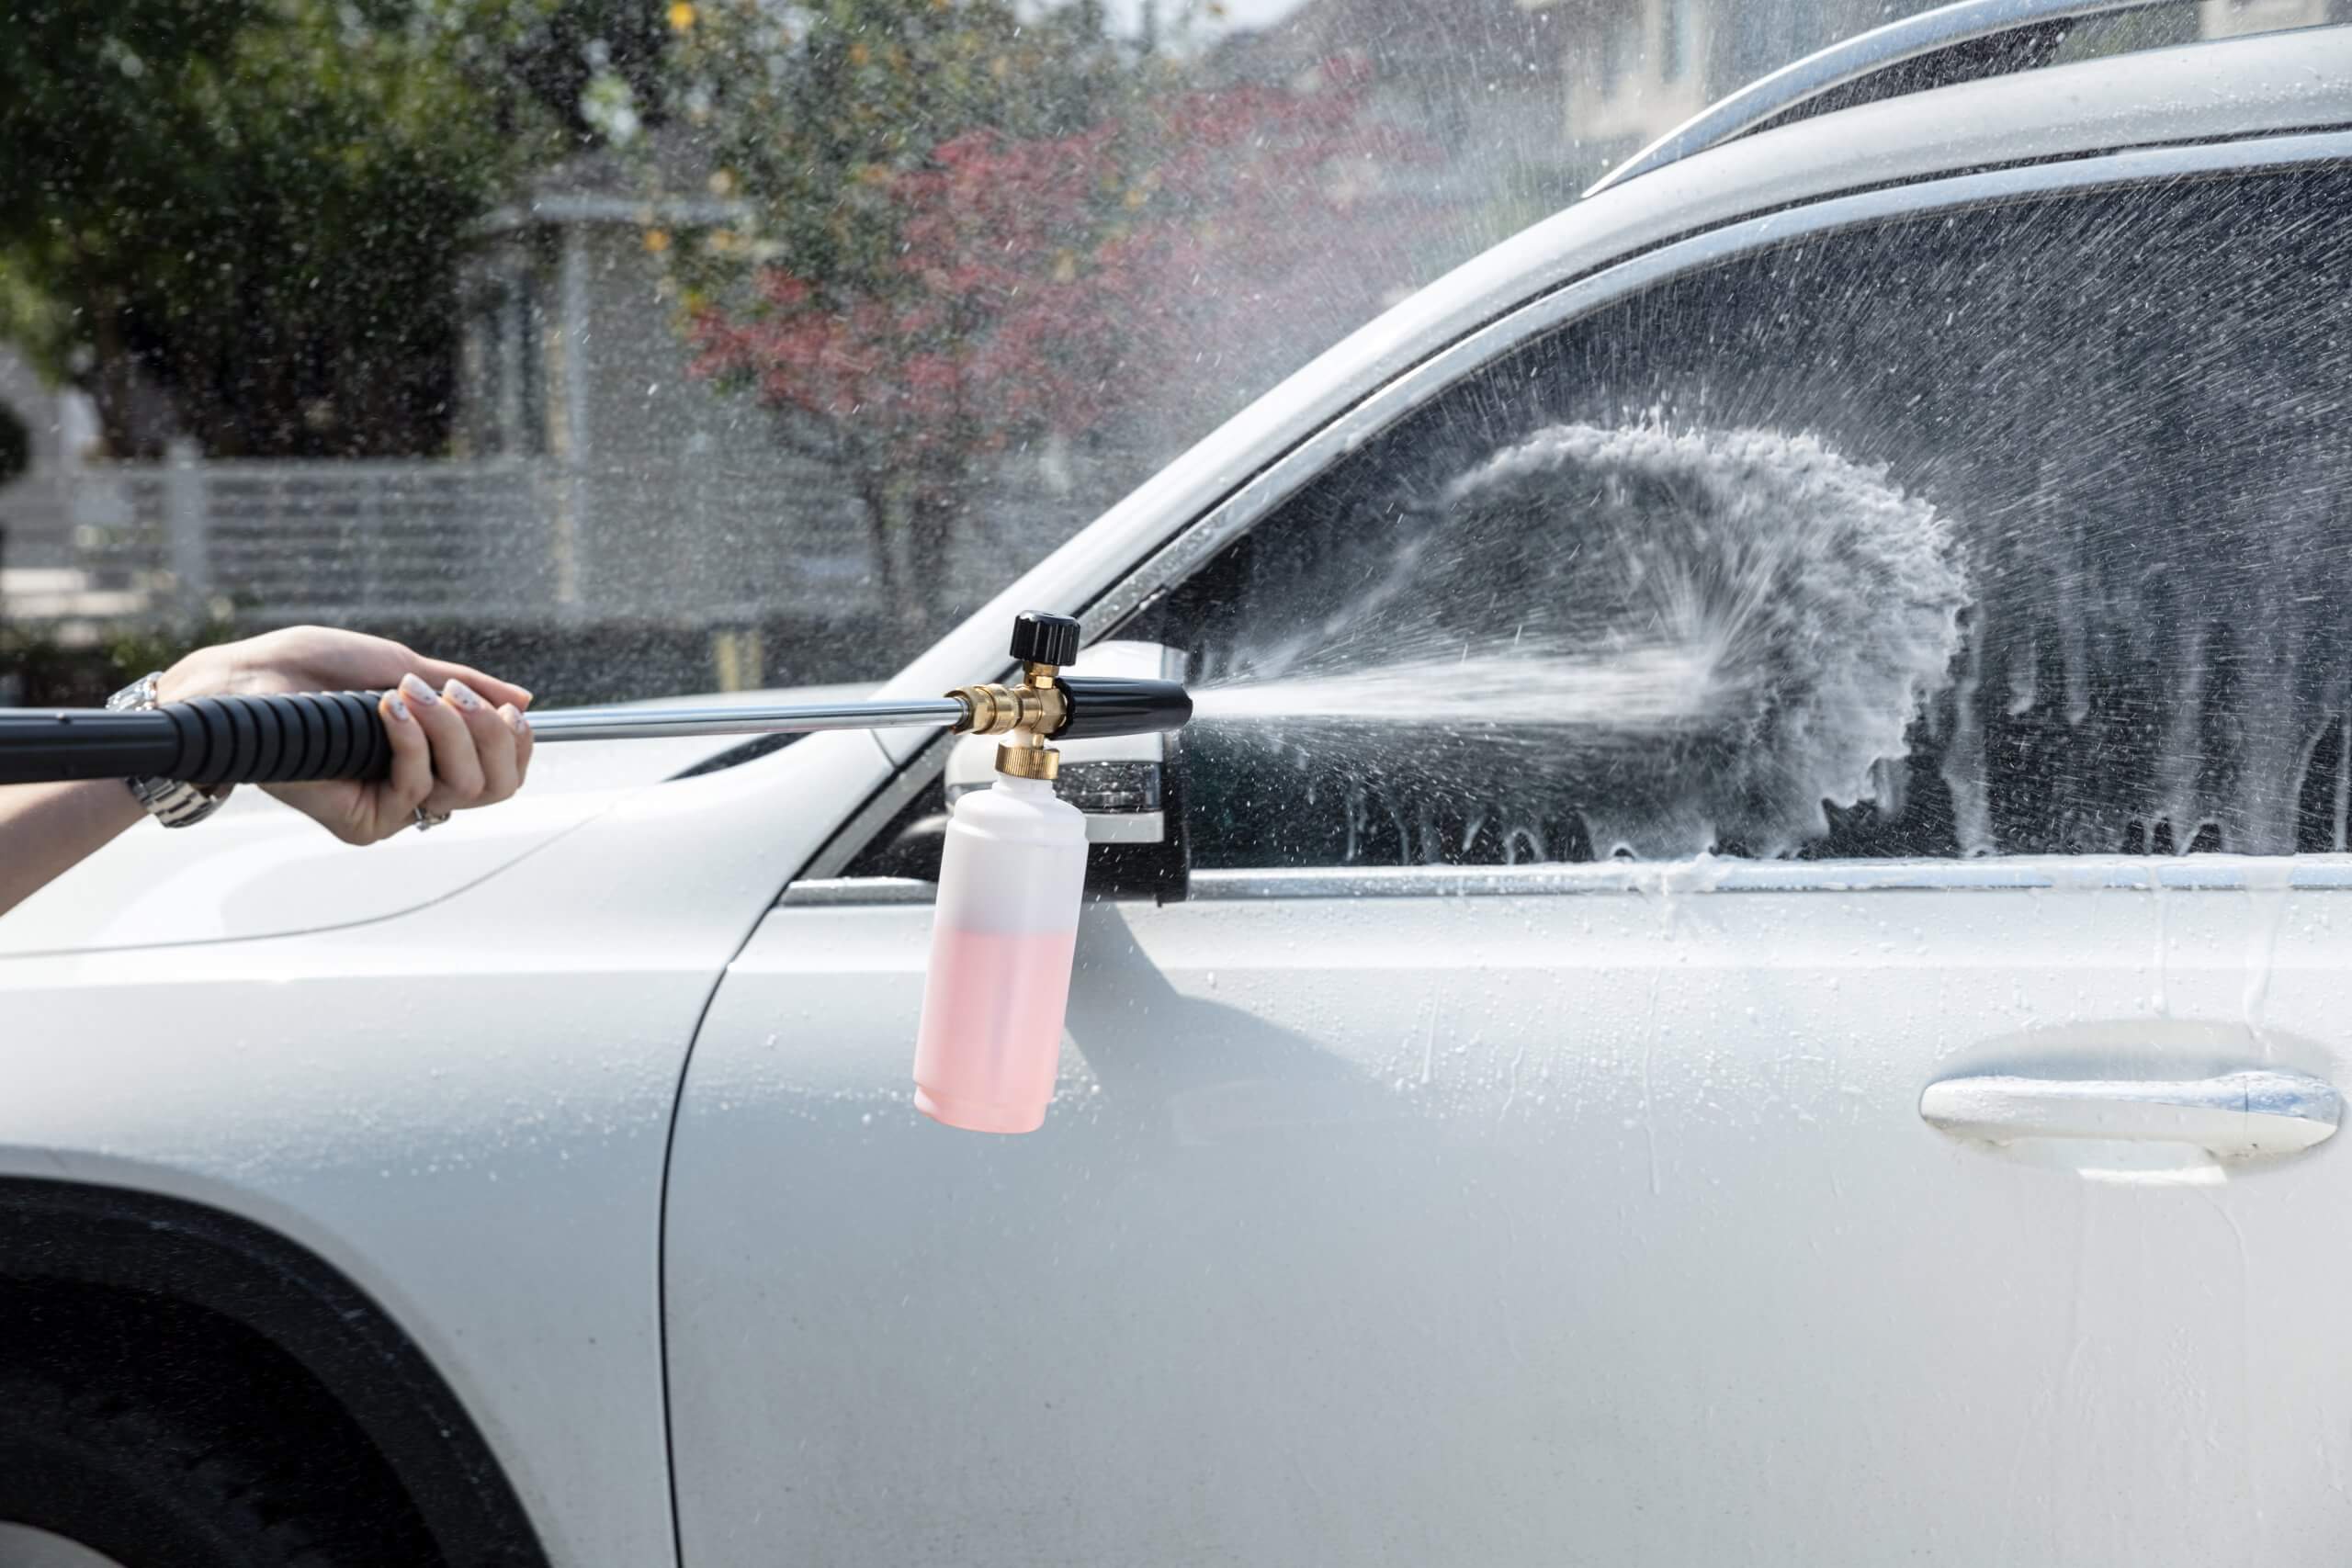
When it comes to cleaning tasks that require a powerful and efficient solution, a pressure washer is a go-to tool for many. With the advancement in technology, tools like the Giraffe Tools pressure washer have become a staple for both homeowners and professionals. In this guide, we will walk you through the steps of starting a washer effectively, ensuring that you get the most out of your Giraffe power washer.
Understanding Your Giraffe Tools Pressure Washer
Before we delve into the steps of starting the pressure washer, let’s take a moment to understand the key components of your Giraffe power washer. Pressure washers consist of a motor or engine, a water pump, high-pressure hose, and a trigger wand. The motor or engine is responsible for driving the water pump, which, in turn, pressurizes the water before it exits through the nozzle of the trigger wand.
Step-by-Step Guide to Starting Your Giraffe Tools Pressure Washer:
Step 1: Safety First
Before starting your pressure washer, it’s crucial to ensure your safety. Put on safety goggles, hearing protection, and appropriate clothing. Also, make sure you’re in a well-ventilated area to prevent inhaling any exhaust fumes.
Step 2: Water Source
Connect your Giraffe power washer to a suitable water source. This could be a garden hose with enough water flow to meet the pressure washer’s requirements. Ensure that the hose is securely attached to both the pressure washer’s inlet and the water supply.
Step 3: Inspect the Equipment
Before starting the pressure washer, give it a quick inspection. Check for any visible damage, leaks, or loose parts. If you notice any issues, it’s best to address them before proceeding.
Step 4: Fuel or Power Connection
Depending on whether your Giraffe power washer is gas-powered or electric, you’ll need to either fill the gas tank with the appropriate fuel or connect it to a power outlet. Gas-powered pressure washers require gasoline, while electric ones need to be plugged into a grounded outlet.
Step 5: Prime the Pump (Gas-Powered Pressure Washers)
If you’re using a gas-powered pressure washer, you’ll need to prime the pump. This typically involves setting the choke, which helps the engine start smoothly. Refer to your Giraffe tools pressure washer manual for specific instructions on priming the pump.
Step 6: Turn It On
With the fuel tank filled (for gas-powered) or plugged into a power source (for electric), it’s time to start your Giraffe power washer. Turn the engine switch to the “On” position and follow the startup procedure outlined in the manual.
Step 7: Squeeze the Trigger
After the pressure washer is running, gently squeeze the trigger on the wand. This will release any air trapped in the system and allow water to flow through the pump. Once a steady stream of water is coming out of the nozzle, you’re ready to proceed.
Step 8: Adjust the Pressure
Depending on the cleaning task at hand, you might need to adjust the pressure settings on your Giraffe tools pressure washer. Most models allow you to control the pressure output by adjusting the nozzle or using pressure settings on the unit itself.
Step 9: Start Cleaning
With everything set up and the pressure washer running smoothly, you’re all set to begin your cleaning tasks. Keep in mind the recommended distance between the nozzle and the surface you’re cleaning to avoid causing damage.
Step 10: Shutdown Procedure
Once you’re done using the pressure washer, follow the manufacturer’s recommended shutdown procedure. This often involves turning off the engine, disconnecting the power source, and releasing any pressure in the system.
In conclusion, starting your Giraffe tools pressure washer doesn’t have to be a complicated process. By following these steps and adhering to safety guidelines, you can effectively and efficiently tackle a variety of cleaning tasks. The power and convenience offered by a pressure washer, especially one as reliable as the Giraffe power washer, can make outdoor cleaning a breeze. Remember to consult your pressure washer’s manual for model-specific instructions and maintenance tips to ensure its longevity and optimal performance.
John Richardson
Related posts
Stay connected
Today's pick
- How to Budget for Building a Dream Retirement HomeBuilding a dream retirement home is an exciting milestone, but it’s also one of the largest financial decisions you’ll make later in life. Between land costs, construction expenses, design upgrades, and long-term maintenance considerations, it’s easy for budgets to stretch beyond what you initially planned.... The post How to Budget for Building a Dream Retirement […]

