One of the critical parts of a building is its foundation. The stability of a foundation plays a major role in the durability and longevity of any structure. In short, the better the foundation is, the more durable a building will be. Yet, despite excellent construction practices, foundations also face troubles.
Generally, natural wear and tear cause most foundation issues. Apart from it, the usual factors are the soil’s moisture content and water damage. Temperature changes may also cause problems and you cannot feel it inside because of thermostats. For these troubles, hiring top-tier contractors seem to be the best choice.
Yet, your DIY spirit may still earn its spot in the foundation repairs. Suppose you’re interested in foundation repair hacks—in that case, here’s an article that’ll discuss them. Keep reading to know how you’d work it out.
1. Fix Foundation Issues As Soon As You Notice Them
Most of the time, you’ll notice signs and indications of foundation damages. The earlier you see the issue, the faster you can apply appropriate repair hacks. This way, you prevent minor issues from worsening further.
Here are the various signs and indications of foundation damages:
- interior and exterior cracks
- uneven flooring
- tile and floor cracks
- popped out nails and tacks
- detached jambs and frames
- puddle of water
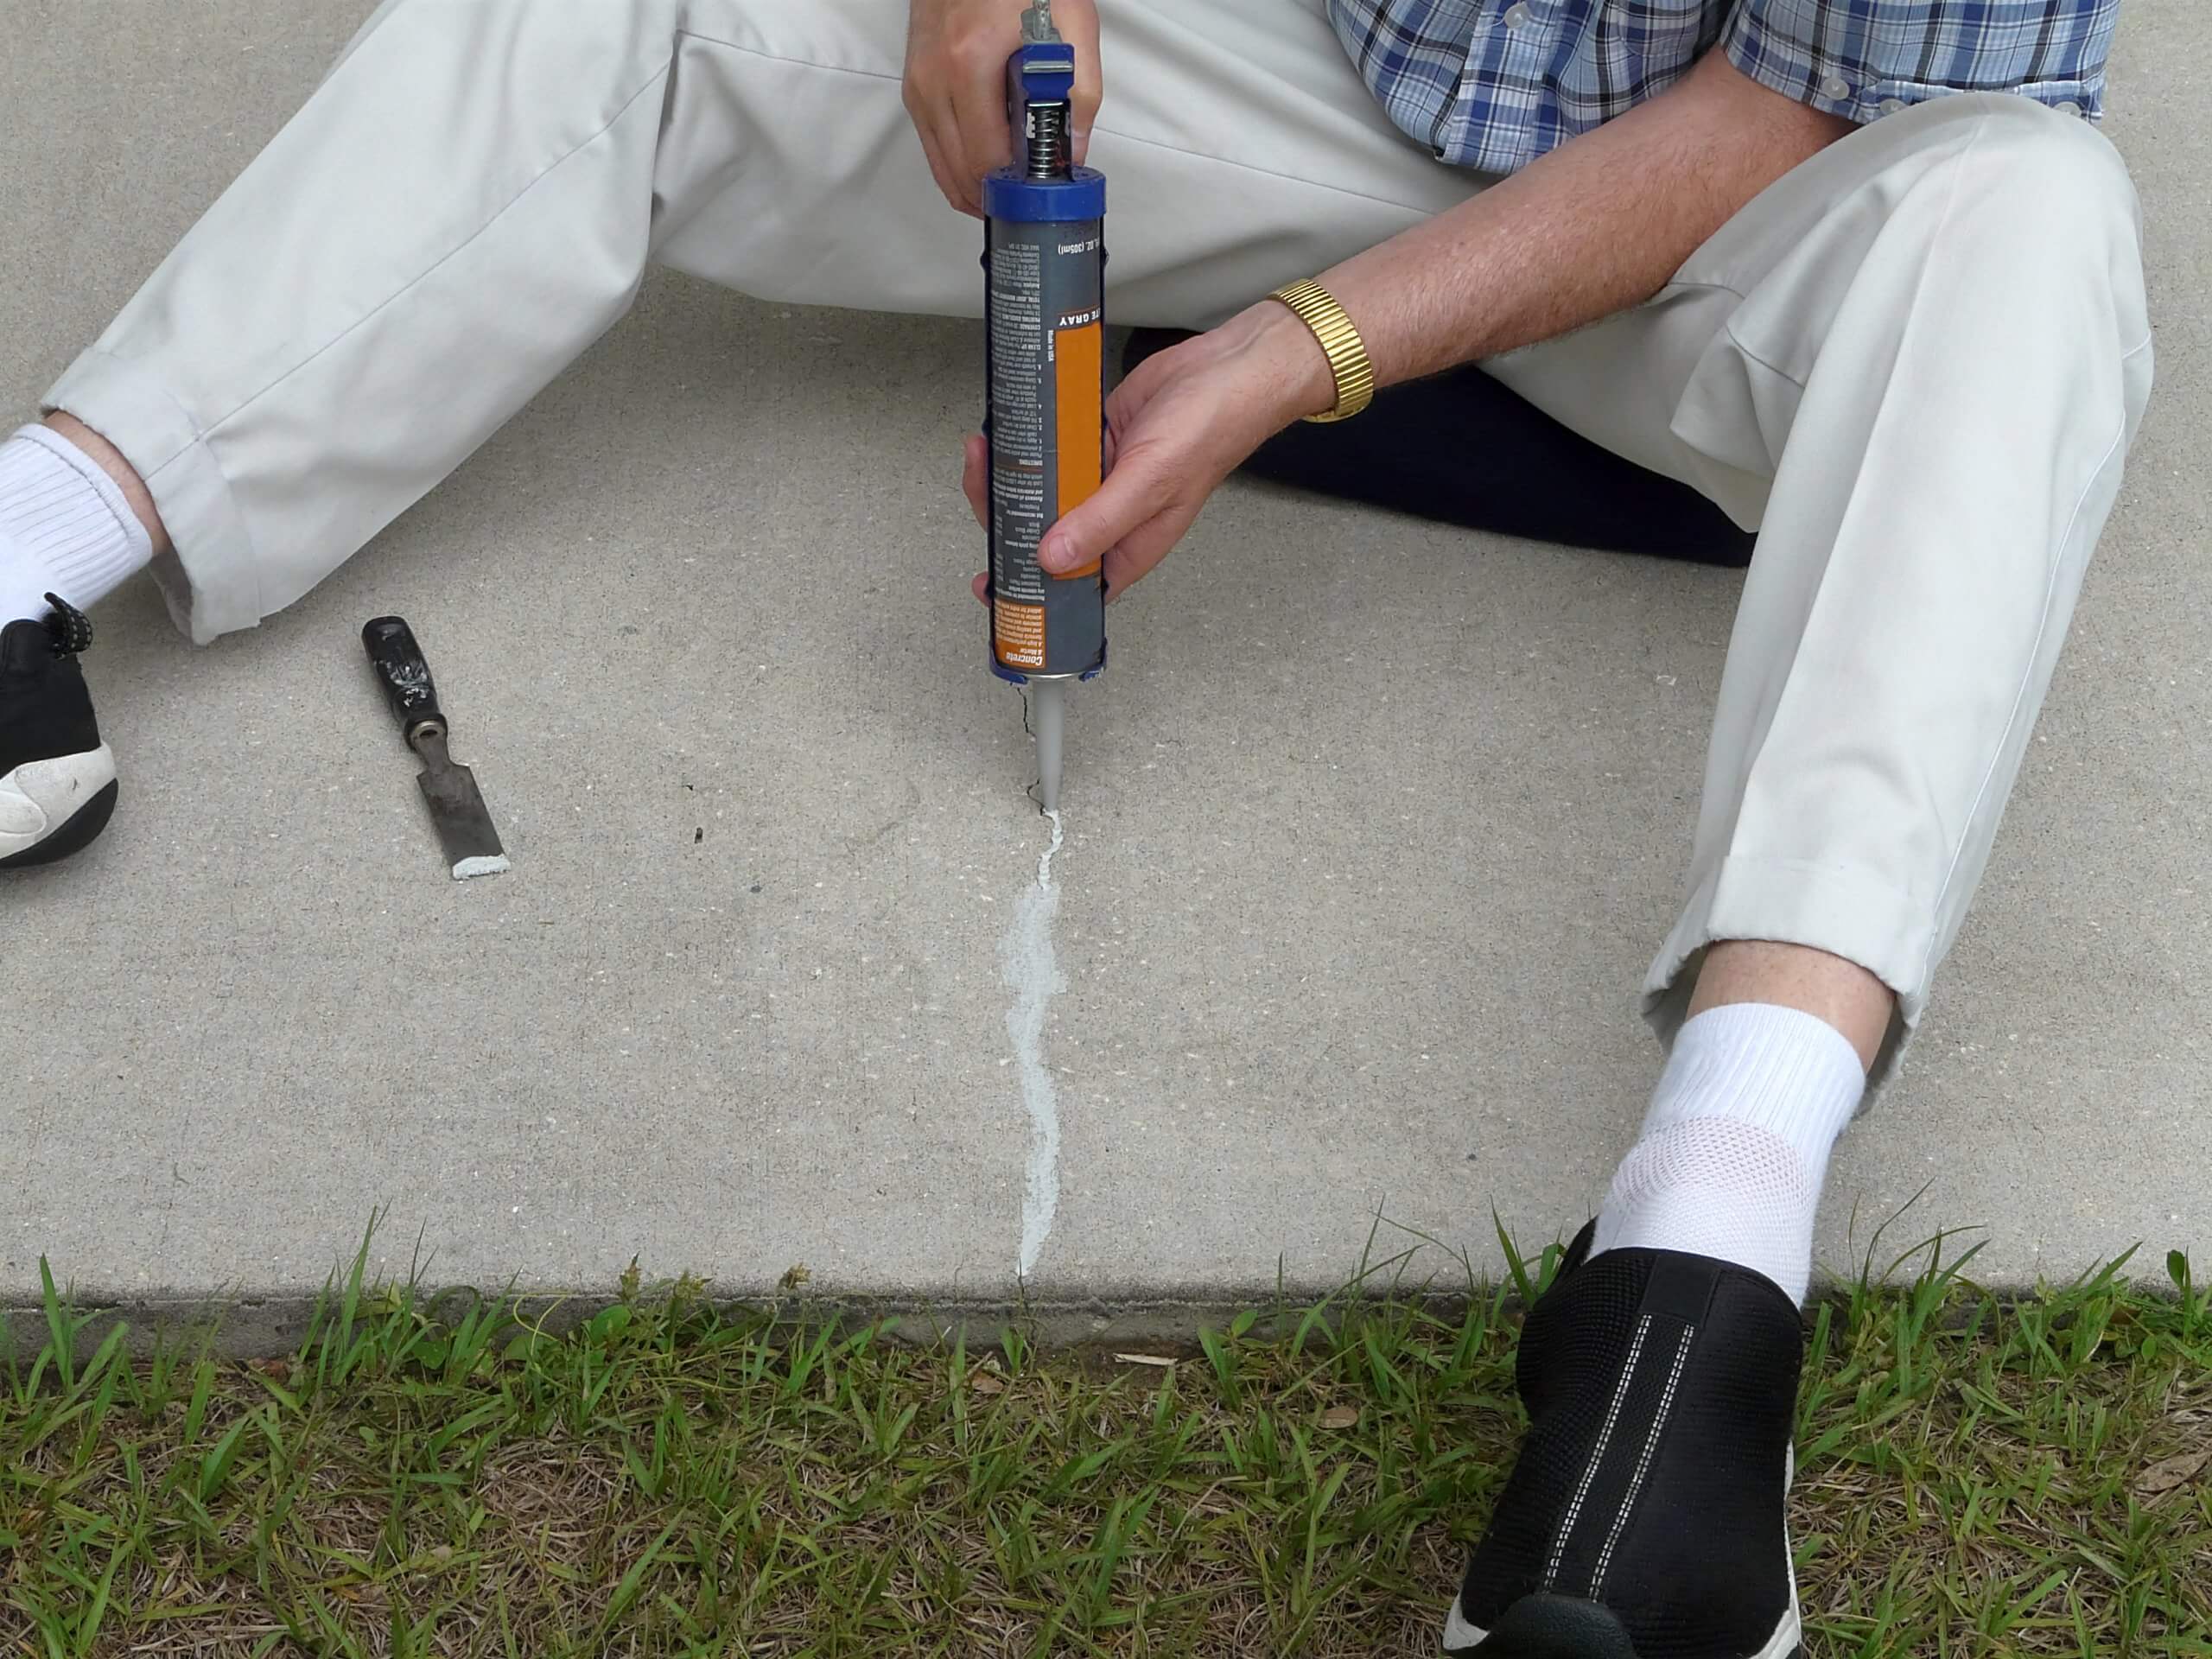
With proper tools and materials, you could patch the holes and cracks. You may need a caulking gun to seal the cracks or apply an appropriate mix of concrete paste. However, if the issues are more severe, like sunken concrete, you should call a professional contractor specializing in foundation repair services.
2. Manage Your Drainage
In some cases, inefficient drainage systems impact foundation damages. To prevent this, you may start checking the status of your drainage. Look for possible sources of water. Check where the standing water comes from. After figuring it out, do appropriate repairs.
During dry seasons, you may direct running water to the bottom parts of your building. Let the water settle for some time until it dries up. After that, check if there are leaks that appear. Observing where the water goes or passes through could be your basis as to which pipe or part should be replaced.
3. Run Maintenance Checkups
If you’re serious about taking care of your foundation, give a maintenance checklist for it. This will contain the parts that are more likely to face issues. You may also include the history of repairs that happened in the past.
Which parts have recurring problems? Which factor hasn’t been repaired for the longest time? What treatment or rehabilitation has been the most effective so far? You may write these points down in a journal for record purposes. In addition, you may conduct your maintenance inspection every quarter using the checklist.
4. Ensure Efficient Waterproofing
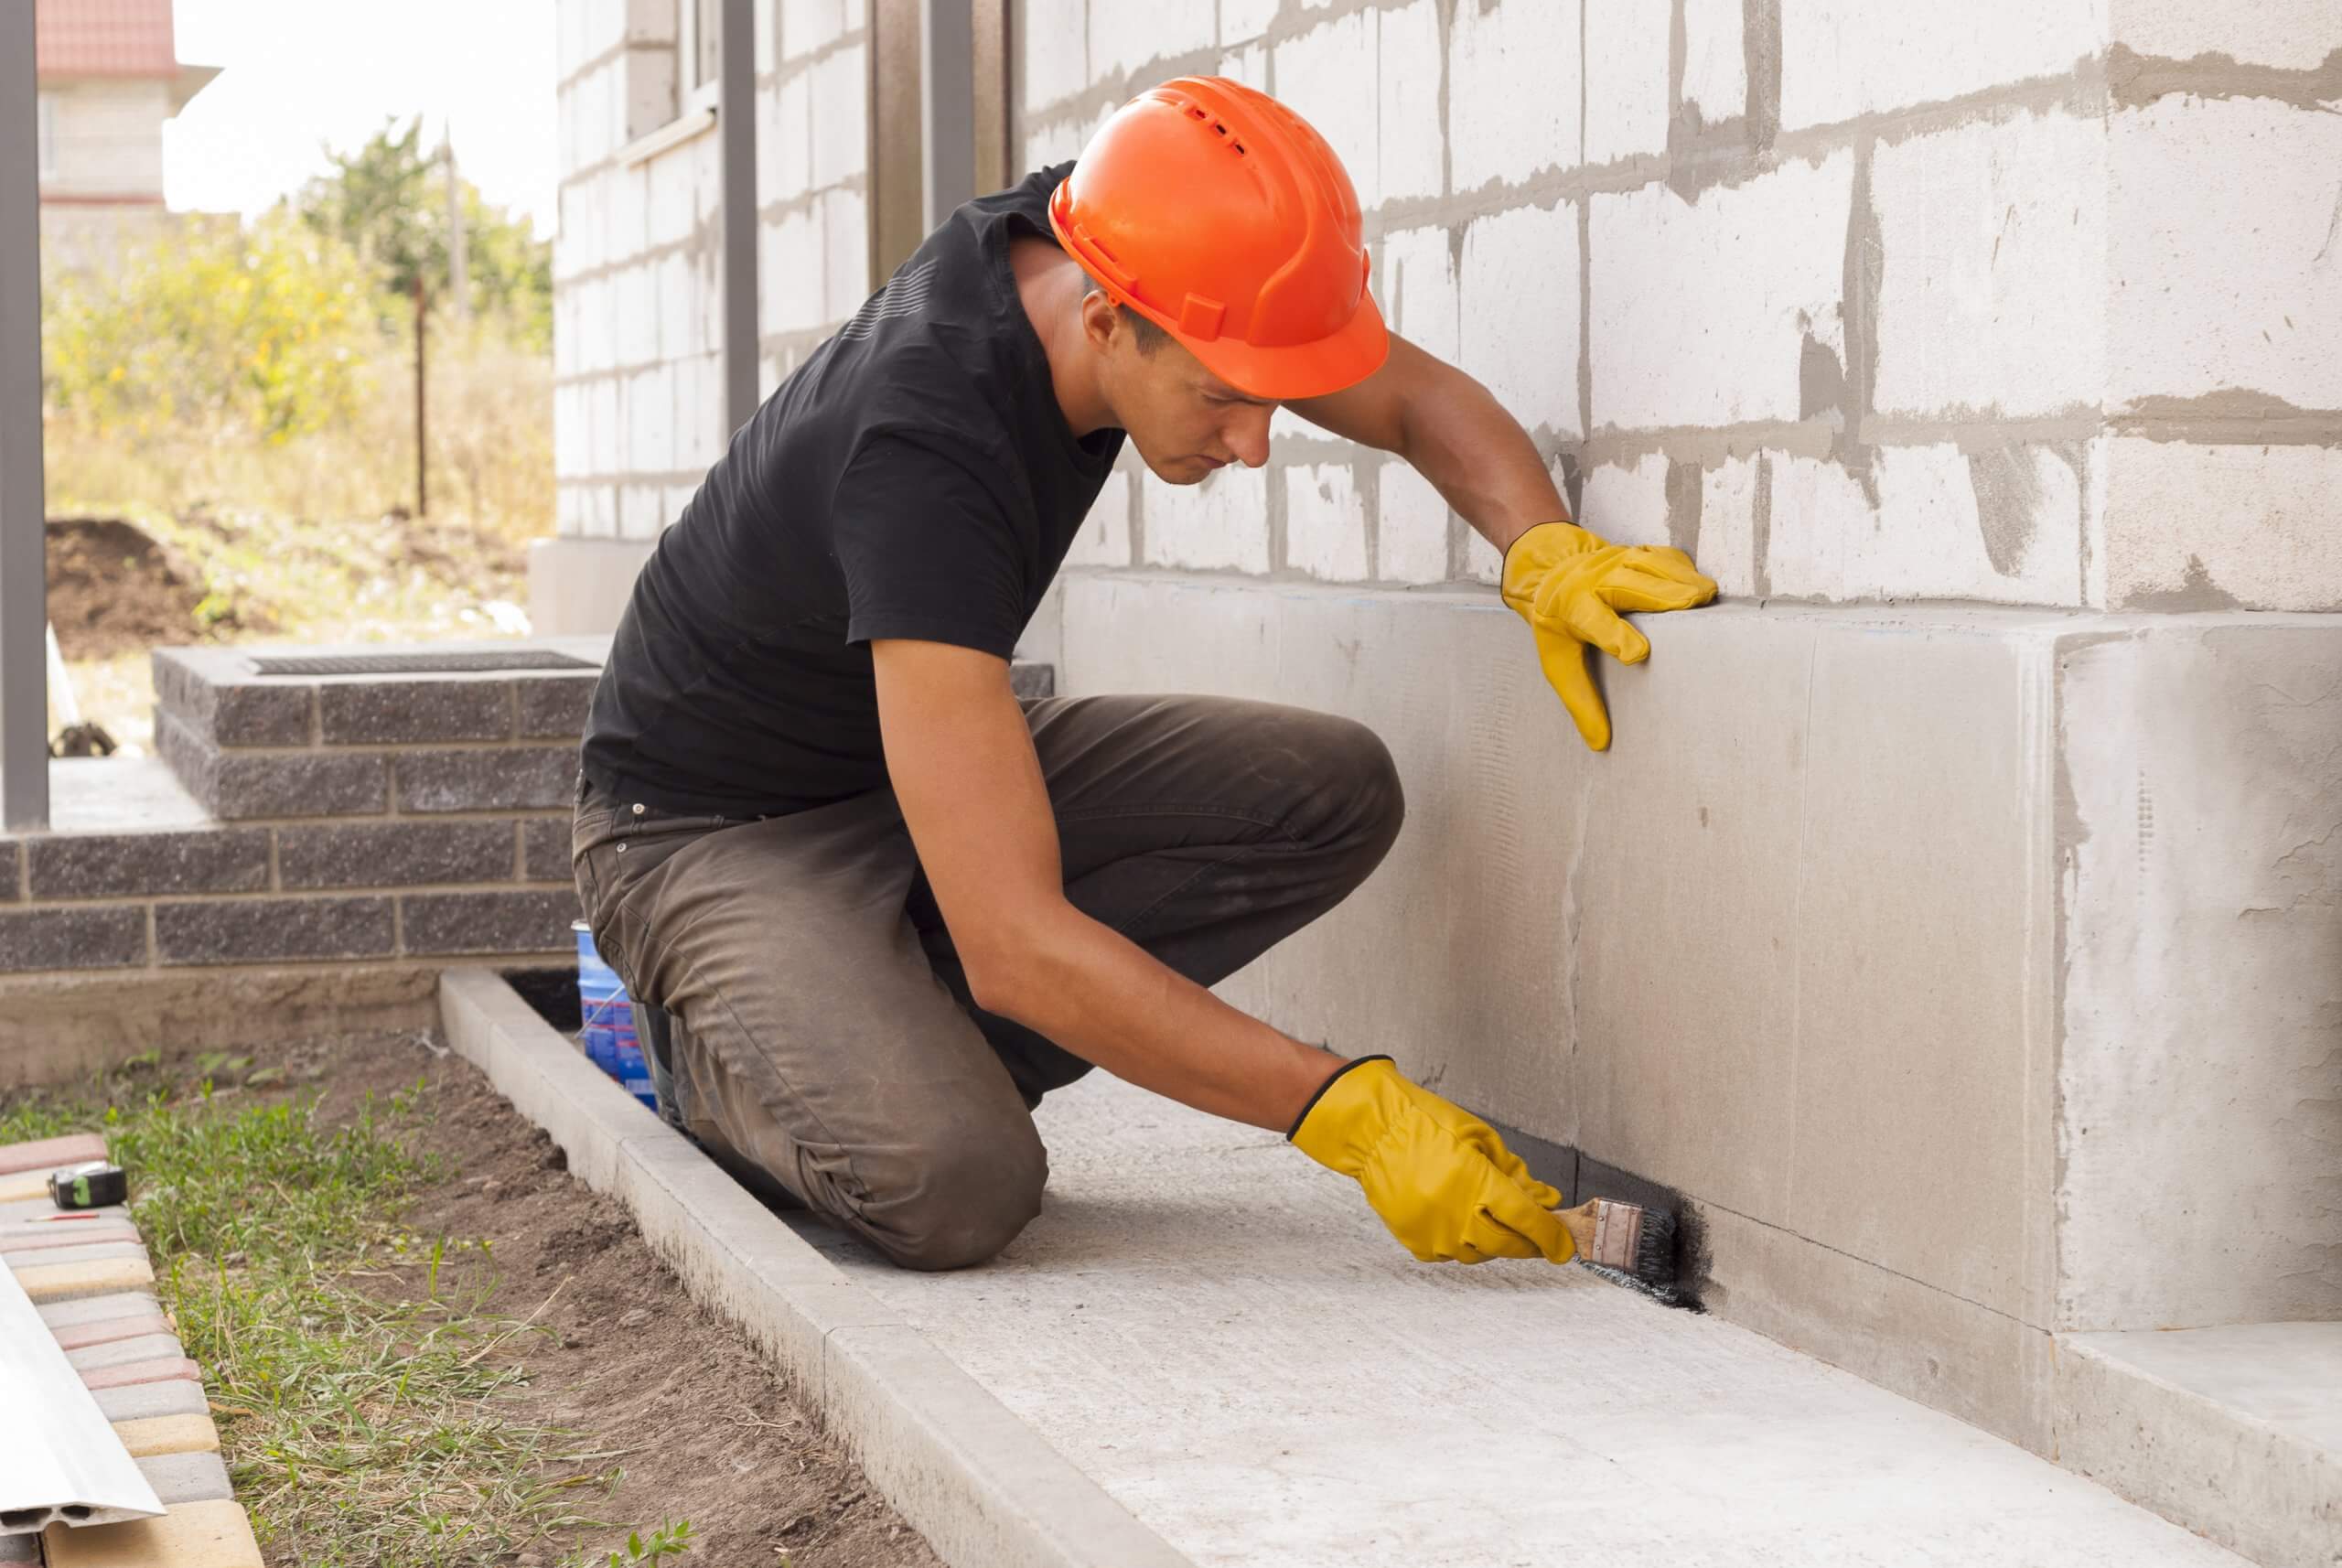
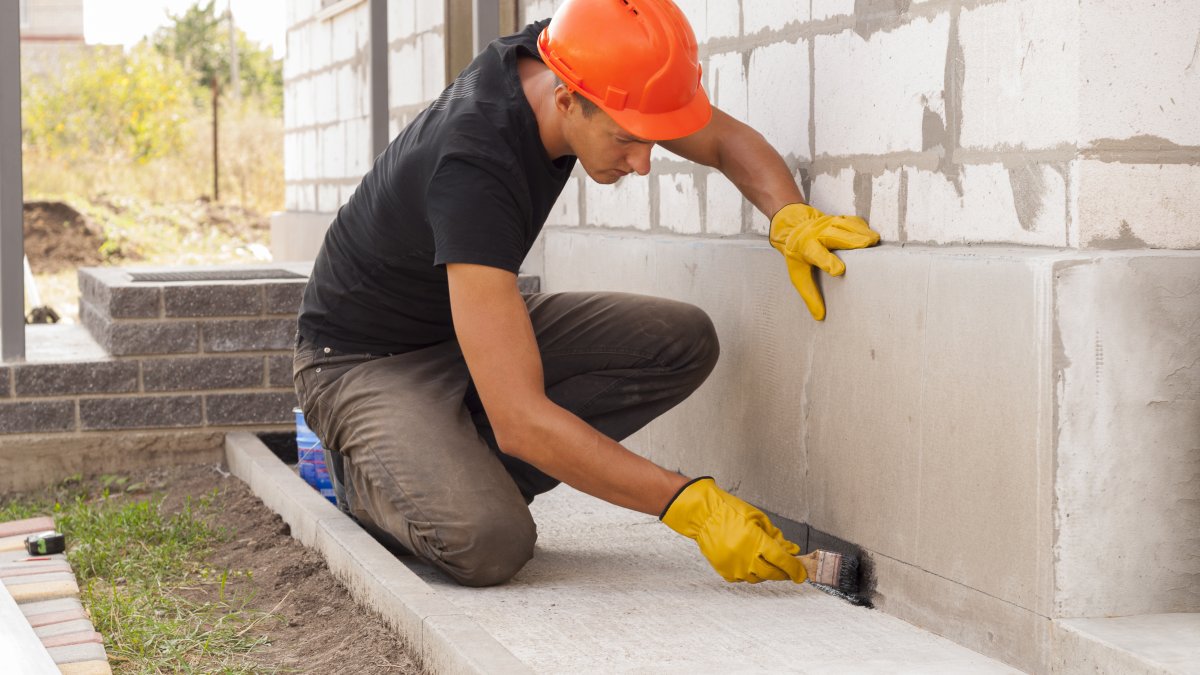
Waterproofing the basement and foundation is a proven way of preventing water seepage. This way, it reduces the risk of water damages that could cause serious foundation cracks and sinks. In waterproofing, you may choose between hiring a professional or taking on a DIY process. Just be wise enough so you can pick which would benefit your foundation best in an affordable way. ‘
5. Assess The Soil’s Condition

Apart from water, the soil is one big factor affecting your foundation. The type of soil—clay, sandy, or loam—has something to do with how water seeps in slowly or aggressively. It also tells how much water is held, a situation that could trigger foundation problems.
If you’d get serious with soil inspection, you might as well check the roots that may protrude and grow into the cracks and holes. They’re as destructive as water when they’ve succeeded in penetrating the basement and foundation. Always prevent the planting of trees near your building. Keep a minimum distance of 15 meters between your saplings and the building to prevent root penetration.
6. Clean Up Molds And Mildews
A place where leaks regularly take place is an area where molds could grow ideally. Although molds may not seriously affect the foundation and the concrete, they may cause health hazards to residents. Necessary mold removal could avoid this. Start this process with a thorough mold inspection. Afterward, begin the removal.
For that purpose, you may need the following:
- bleach, vinegar, and trisodium phosphate (optional)
- spray bottle
- dry or steel brush
- rubber gloves
- dust mask
- mop
- scrub
- power washer
Combine the bleach and vinegar solution. You may put the mixture into a spray bottle, to be used in the first part of the removal. Spray evenly on the surfaces with molds. Let the molds absorb the solution for 10-15 minutes. After settling, you can start scrubbing the area with molds. Be sure that you’re wearing a mask as inhaling molds could be dangerous to your health.
After scrubbing, you may need to mop the entire space ad spray the solution further. Use a steel brush to detach the remaining parts of the mold buildup. Spray repeatedly until the buildup completely softens. Sweep the area after and disinfect with the remaining solution.
Final Thoughts
Repair hacks are fantastic ways of preventing foundation troubles. Yet, these may only be ideal for minor issues. For concerns that may cause structural collapse, hiring a professional foundation repair service provider is, still, the best option.
Steven Bennett
Related posts
Stay connected
Today's pick
- Why Professional Rigging Matters for Major Home RenovationsMajor home renovations look very different today than they did even twenty years ago. Homes are larger, materials are heavier, and design trends increasingly rely on structural elements such as steel beams, oversized windows, rooftop equipment, and prefabricated components. Whether it is a full home... The post Why Professional Rigging Matters for Major Home Renovations […]

