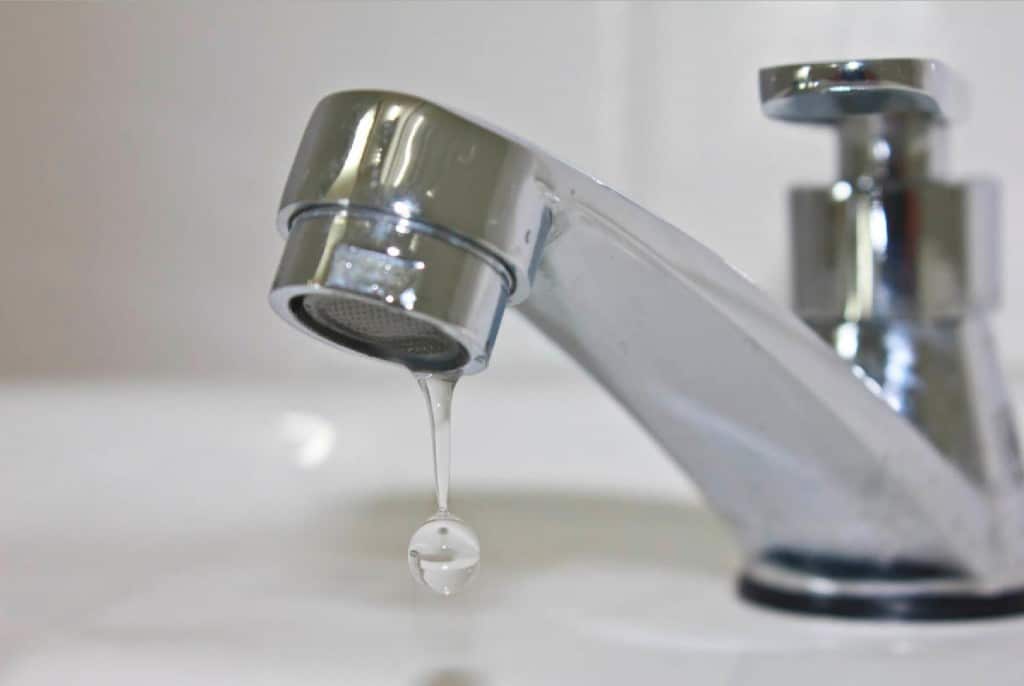
When it comes to the plumbing in your home, your worst nightmare is that something will go wrong. This can make a mess, cost you a good deal of money, and is never a lot of fun.
And while it may seem like a minor problem compared to some of the work that you will need to do on the plumbing in your home, a dripping tap is still a bother and something that you should not ignore.
In some cases, you will be able to fix the problem yourself. But other times it can be indicative of a bigger problem and you will need to call in the professionals. Let’s take a closer look at some of the steps that you can take to help diagnose a dripping tap to make sure that you can keep your home and your plumbing safe.
Diagnosing a Dripping Tap
One of the first steps that you can take here is to find the source of the dripping. If you don’t know the source, it is hard to know where to begin.
The leak source could be from the head of the tap, the pipes, the handle, or even the spout. As you can imagine, it is hard to do some work to fix it if you don’t know where it is starting.
If you have the leak from the tap head, then you will need to take some time to check the tap stem. If there is water pooling on the floor, then it is more likely the pipes are causing the problem.
Going straight to the source of the problem and what is causing it is the best option because it not only allows you a way to fix it, but will ensure that you don’t start causing more damage to the system. Once you know the source of the leak, you can go right to the repairs.
What Tools Do I Need to Repair a Dripping Tap?
The good news is that to repair a dripping tap, you only need a few tools and materials to get it all done. Some of the tools that you should consider having on hand while you do this includes:
- Tap lubricant
- Allen keys
- An adjustable wrench or pliers
- A screwdriver, a crosshead or flathead would be fine
- Replacement tap washers, O-rings, and cartridges
- A bucket
- Flathead screwdriver
Steps to Fix the Dripping Tap
With all of the right tools in place and ready to go, it is time to do some of the necessary repairs to make that dripping go away and to avoid some further damage. Some of the steps that you can use to help with this includes:
Isolating the water supply: The first step to help you get started here is to cut off the water supply. The easiest way to do this is to turn off the main valve, usually found at the main water stopcock or under the sink. If there is some reason that you are not able to find this in your home, then you should call in a plumber who can help. When you turn off the water, it will make sure that you don’t flood the kitchen or bathroom and can drain the rest of the water out of the tap while you work.
Accessing the tap mechanism: With the water turned off, it is time to determine the type of tap that you have, whether it is a ceramic disc tap, a compression tap, or some other type. If it is a compression tap, then you need to look for a screw, usually under the handle cap to help you out. When you find the screw, use an adjustable spanner to help loosen the value. Hold it steady and use the screwdriver to remove the screw that was holding he water. If you had a ceramic disc tap, then you need the plier or wrench to loosen and remove the tap cartridge that will block all the water.
Replacing the washers: With this removed, you will be able to locate the leak source. At the source, you will often see a worn out washer. Take the time to remove and replace this to avoid further issue. Find one that is the perfect fit when you replace it so that you will be able to prevent the leaks and have a faucet that will work for you.
Reassembly and leak check: Once you have a new washer in place, you will put the tap mechanism back in place. Make sure that all of the parts are put back on tightly or you will end up with some problems. When done with the tightening, you can slowly turn the water supply back on. Check for any leaks. If you don’t see any leaks, then this is a sign that you did a good job. If there is a leak, then go back and see what went wrong.
Handling a dripping faucet is usually not a big deal and is something that you can do on. your own. But it doesn’t take long for a small problem to turn into something big. That is why you and to trust a professional plumber to come in and take control over your plumbing needs. This can keep you and your home safe if there is a major plumbing issue later on.
When you are worried about the leaking faucets or some of the other potential plumbing problems around your home, it is a good idea to look to the professionals to help handle some of the potential issues.
We know that you have a lot of options out there for the best plumbers in town, but we are confident that you will fall in love with some of our North Charleston plumbing services today.
Whether you have a small problem like a faucet leak that just will not stop or you are worried about something bigger like a burst pipe, our team is here to help fix it and get you back on your feet. Contact a member of our team today to learn more and to schedule a visit from us!
John Richardson
Related posts
Stay connected
- Healthy, Happy Homes: How to Boost Wellbeing at Home with Smart Food, Movement, and Fun in 2025Over the past few years, our homes have transformed from mere living spaces into multifunctional sanctuaries. Kitchens became gourmet playgrounds, living rooms doubled as yoga studios, and dining tables turned into boardrooms. As we continue into 2025, one thing is clear: the way we live... The post Healthy, Happy Homes: How to Boost Wellbeing at […]

