Installing a water softener can bring numerous benefits to your home, from improving the quality of your water to extending the lifespan of your appliances. However, proper preparation is key to ensuring a successful installation process. In this blog, we’ll provide a comprehensive guide to preparing for water softener installation San Antonio, covering everything from selecting the right location to understanding the installation process.
Choose the Right Location:
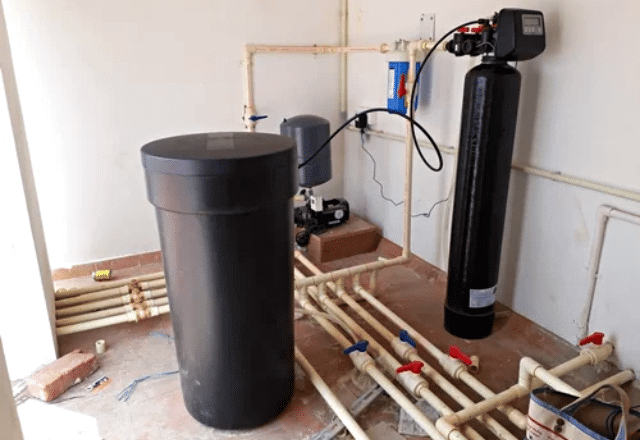
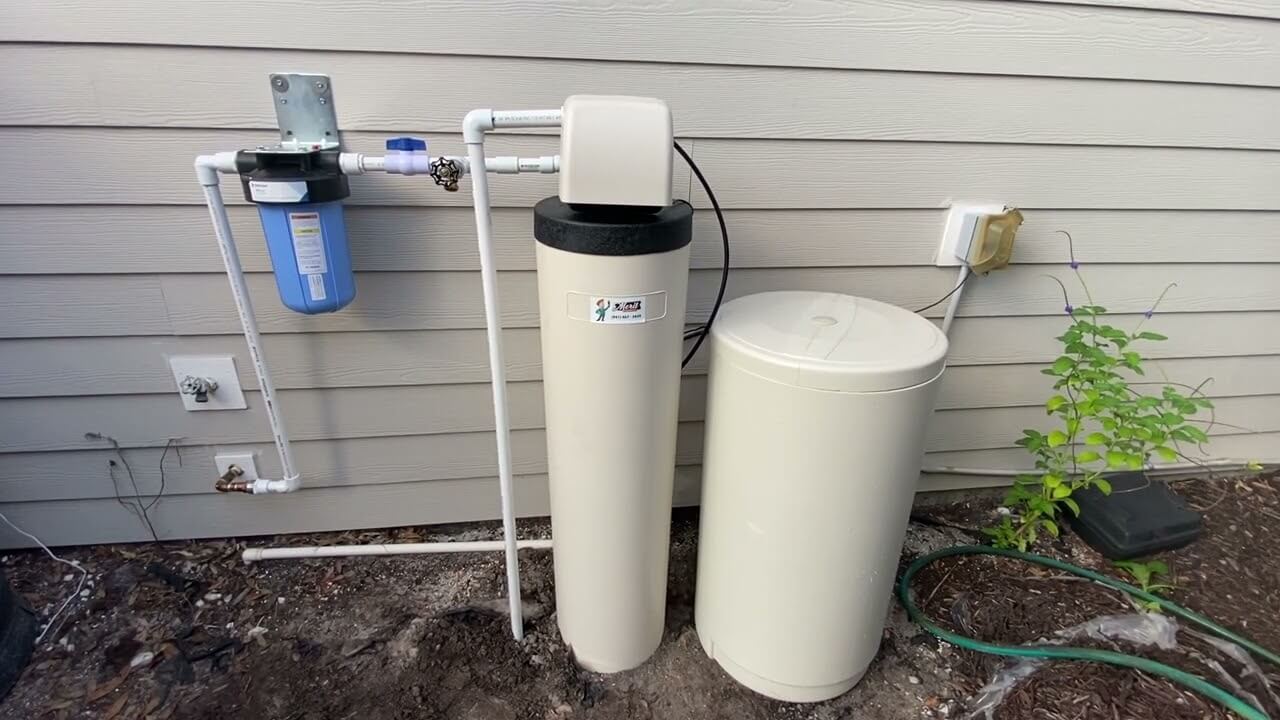
Before the installation process begins, it’s essential to select the optimal location for your water softener. Ideally, this should be a dry, well-ventilated area with access to a drain and a nearby power source. Common locations include the garage, basement, or utility room. Ensure that the chosen location is easily accessible for maintenance and servicing in the future.
Gather Necessary Tools and Materials:
 To prepare for water softener installation San Antonio, gather all the necessary tools and materials ahead of time. This may include wrenches, tubing cutters, pipe fittings, and Teflon tape. Additionally, make sure you have the appropriate plumbing connections and fittings required for your specific water softener model.
Shut Off Water Supply:
Before beginning the installation process, shut off the main water supply to your home to prevent any water flow during the installation. Locate the shut-off valve and turn it clockwise until it is fully closed. This will ensure a dry work environment and prevent any accidents or leaks during the installation process.
Drain Water Lines:
After shutting off the water supply, drain any remaining water from the plumbing lines to prevent water from spilling during the installation. Open faucets and valves throughout your home to allow any trapped water to drain completely. This step will also help alleviate pressure within the plumbing system.
Clear Installation Area:
 Clear the designated installation area of any obstacles or clutter to provide ample space for the installation process. Remove any furniture, appliances, or storage items that may obstruct access to the water softener or impede the installation process. This will facilitate a smoother and more efficient installation process for the technicians.
Prepare for Electrical Connection:
If your water softener requires an electrical connection, ensure that the installation area has access to a nearby power source. Install a dedicated electrical outlet if necessary, and ensure that it meets the voltage and amperage requirements specified by the manufacturer. If you’re not comfortable with electrical work, consider hiring a qualified electrician to assist with the installation.
Communicate with Installers:
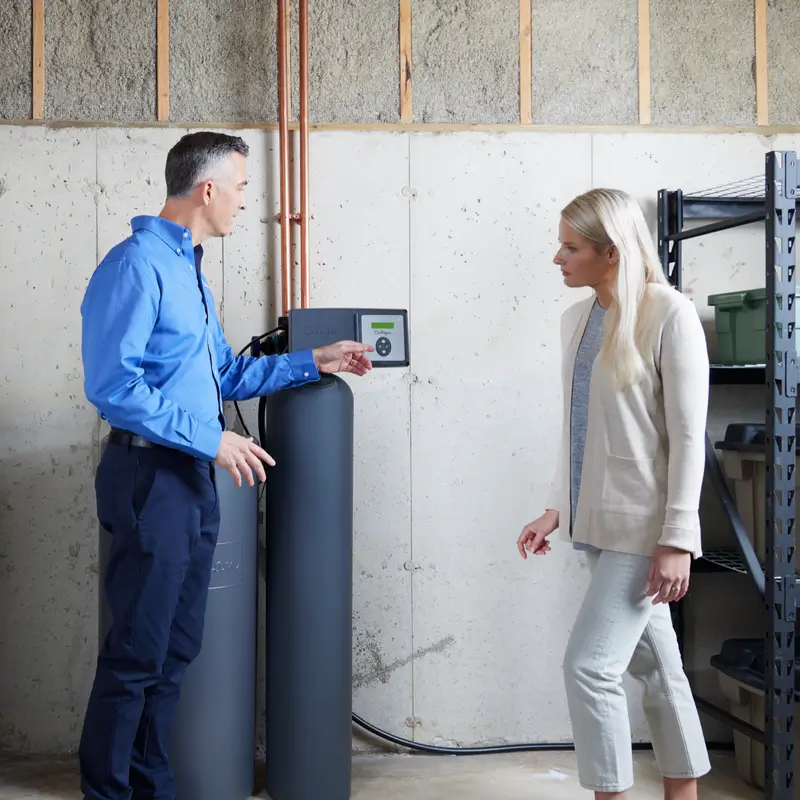 Before the scheduled installation date, communicate with the installation technicians to confirm the details of the installation process. Provide any relevant information about your home’s plumbing system, electrical setup, and installation preferences. Address any questions or concerns you may have to ensure a smooth and successful installation experience.
Final Words
By following these steps to prepare for water softener installation, you can ensure a smooth and successful process from start to finish. By choosing the right location, gathering necessary tools and materials, shutting off the water supply, draining water lines, clearing the installation area, preparing for electrical connection, communicating with installers, and planning for post-installation testing, you’ll be well-prepared to enjoy the benefits of softened water in your home.
- Renovate or Rebuild? What to Consider If Your Melbourne Home Needs Major Structural WorkIf your Melbourne home requires extensive structural work, you may be wondering whether it’s better to restore what’s already there or begin again with a brand-new home. Navigating the renovate vs rebuild Melbourne decision can seem complex at first, but taking the time to understand... The post Renovate or Rebuild? What to Consider If Your […]