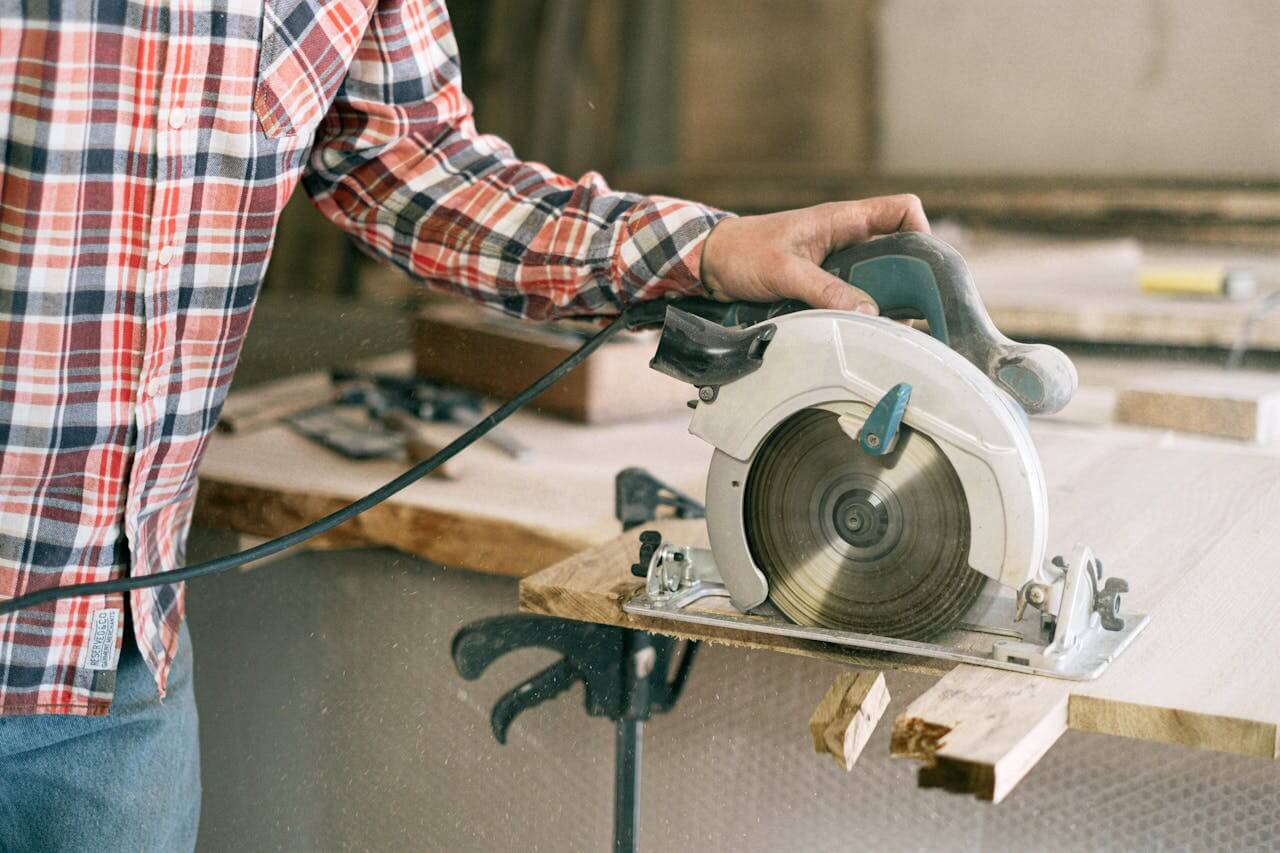
A circular saw might sound like some fancy tool only pros use, but it’s actually for anyone who loves DIY.
Whether you wanna build a bookshelf, knock together a garden bench, or just fix stuff around the house, a circular saw makes it faster, easier, and way more fun.
If you’re thinking about getting one or just wanna stop pretending your handsaw is doing the job, here’s the lowdown – no boring jargon, just straight-up advice.
Why a Circular Saw is Your New Best Friend
Circular saws are like the Swiss Army knife of power tools. They cut wood, plastic, and even metal if you’ve got the right blade. Plus, they’re portable. So whether you’re in the garage, backyard, or helping your mate with a project, you can bring this bad boy along.
Safety First, No Excuses
Look, a circular saw can be a beast. That’s why safety matters. Here’s the short version:
- Protect Your Eyes and Ears – Wear safety glasses and ear protection. Splinters and loud noises are no joke.
- Sharp Blade Only – A dull blade is dangerous and makes ugly cuts.
- Steady Surface – Always cut on a stable surface. Wobbly tables and saws don’t mix.
- Watch the Cord – If you’ve got a corded saw, keep that thing out of the way. No surprise trips, please.
- Blade Guards Are There for a Reason – Don’t disable safety features. They exist to save your fingers.
And seriously, don’t skip the safety checks. Five minutes of caution beats a trip to the ER every time.
Cutting Tips for Non-Pros
1. Cut Straight, Not Crooked
Want a straight cut? Use a track for circular saw. You can buy one or just clamp a straight piece of wood to your workpiece. Free-handing a straight line is a shortcut to frustration.
Pro tip: Draw a bold line and use painter’s tape to reduce splintering. Even if your hand shakes like you’ve had too much coffee, the tape helps keep the cut clean.
2. Crosscuts vs. Rip Cuts – What’s the Deal?
Here’s the difference:
- Crosscut – Cuts across the grain. Like slicing bread.
- Rip cut – Cuts along the grain. Like splitting a log.
Mark your lines, follow the guide, and let the saw do its thing. Don’t push too hard – it’s not a race.
3. Bevel Cuts Without the Brain Freeze
Need an angled edge? Most circular saws tilt for bevel cuts. Adjust the base plate, lock it in place, and go slow. You got this.
4. Plunge Cuts – The Hidden Superpower
Plunge cuts let you start cutting from the middle of a board. Perfect for vents, openings, or fancy designs. Just make sure you’ve practiced a few times before you go for it.
DIY Projects You Can Actually Handle
Ready to try your new skills? Here are a few easy wins:
- Floating Shelves – Simple, stylish, and super practical.
- Raised Garden Beds – Perfect if you wanna grow some veggies.
- Outdoor Bench – Make your backyard more chill.
- Planter Boxes – Custom planters that don’t cost a fortune.
- Simple Coffee Table – Impress your friends without emptying your wallet.
- Storage Cubes – Organize your stuff while showing off your DIY cred.
- Dog House – Give your furry mate a cool pad.
- Custom Tool Organizer – Stop losing screws and bits with a personalized organizer.
Picking the Right Circular Saw Without a Headache
There’s a ton of saws out there, but here’s what really matters:
- Corded vs. Cordless – Corded means more power; cordless gives you more freedom.
- Blade Size – The 7 1/4-inch blade is the all-rounder.
- Comfort Factor – Pick one that feels good in your hands – you’ll thank me later.
- Extra Features – Laser guides, LED lights, and dust blowers might sound fancy, but they actually help.
And don’t just buy the cheapest one on sale. A solid, mid-range saw will last you years.
Common Screw-Ups and How to Avoid Them
Let’s save you some headaches:
- Rushing It – Let the saw do the work. Pushing hard leads to bad cuts and burnt wood.
- Ignoring the Blade Depth – Adjust the blade so it’s just a bit deeper than the material you’re cutting.
- Skipping the Dry Run – Do a test cut if you’re unsure. Better safe than sorry.
- Not Checking for Nails – Hitting a nail mid-cut is a quick way to wreck your blade (and possibly your mood).
- Using the Wrong Blade – Wood blades for wood, metal blades for metal. Don’t mix and match.
Circular Saw Hacks You Didn’t Know You Needed
- Painter’s Tape for Clean Edges – Stick tape along the cut line to reduce splintering.
- Cut with the Good Side Down – The saw blade can rough up the surface, so face the “show side” downward.
- Clamp It Down – If it moves, clamp it. Wobbly boards lead to wonky cuts.
- DIY Track Saw Hack – Can’t afford a track saw? Make your own guide using scrap wood and clamps.
- Use a Speed Square – Great for quick, accurate crosscuts.
Bonus: Troubleshooting Wobbly Cuts
If your cuts look like a drunk snake made them, here’s what might be going wrong:
- Dull Blade – Swap it out for a fresh one.
- Blade Not Tightened – Check the arbor nut.
- Pushing Too Hard – Let the saw do its thing – it’s got a motor for a reason.
- Uneven Pressure – Keep both hands steady and don’t tilt the saw.
- Warped Wood – Check that your material isn’t twisted or bent.
Circular Saw Maintenance (Because Tools Need TLC Too)
- Clean the Blade – Sap and sawdust can gum it up.
- Check the Guard – Make sure it moves freely.
- Inspect the Cord/Battery – Frayed cords and sketchy batteries cause problems.
- Store It Right – Dry and dust-free keeps it happy.
- Lubricate Moving Parts – A little maintenance goes a long way.
Parting Wisdom – Just Go For It
Seriously, don’t overthink it. The circular saw is like that friend who shows up, gets stuff done, and doesn’t judge when you mess up. Start with small projects and build from there. You’ll be cranking out cool stuff in no time.
And remember: The saw doesn’t make the craftsman – practice does. So get cutting, learn from the mistakes, and enjoy the process.
Gray Williams
Related posts
Stay connected
Today's pick
- How to Budget for Building a Dream Retirement HomeBuilding a dream retirement home is an exciting milestone, but it’s also one of the largest financial decisions you’ll make later in life. Between land costs, construction expenses, design upgrades, and long-term maintenance considerations, it’s easy for budgets to stretch beyond what you initially planned.... The post How to Budget for Building a Dream Retirement […]

