If people have told you that it’s impossible to build your own pergola, then they would be wrong! DIY projects are quickly on the rise, and pergolas are no different.
There’s no reason not to have one either. Adding a pergola to your yard can provide you with shade and shelter from the elements, while still allowing you to enjoy the great outdoors.
But that doesn’t mean it’s an easy project. There are some important tips to keep under your belt so that you do it right the first time. Here are five DIY tips when building a pergola yourself so that you can get it right the first time.
1. Determine The Structure And Location
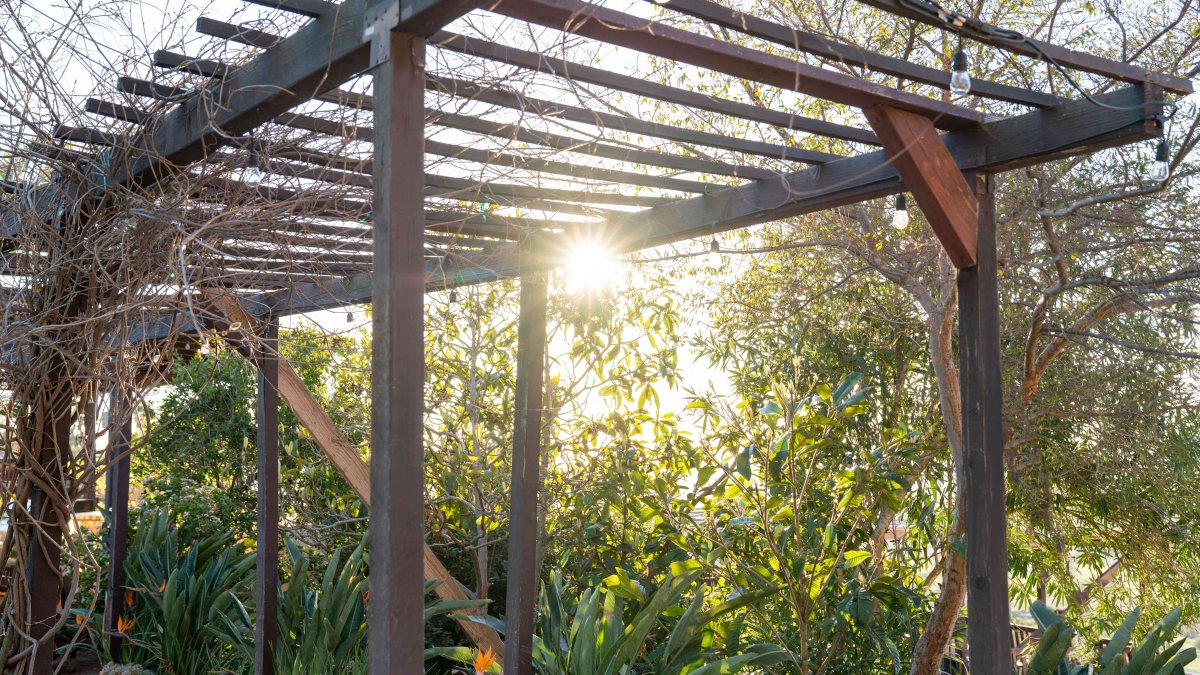
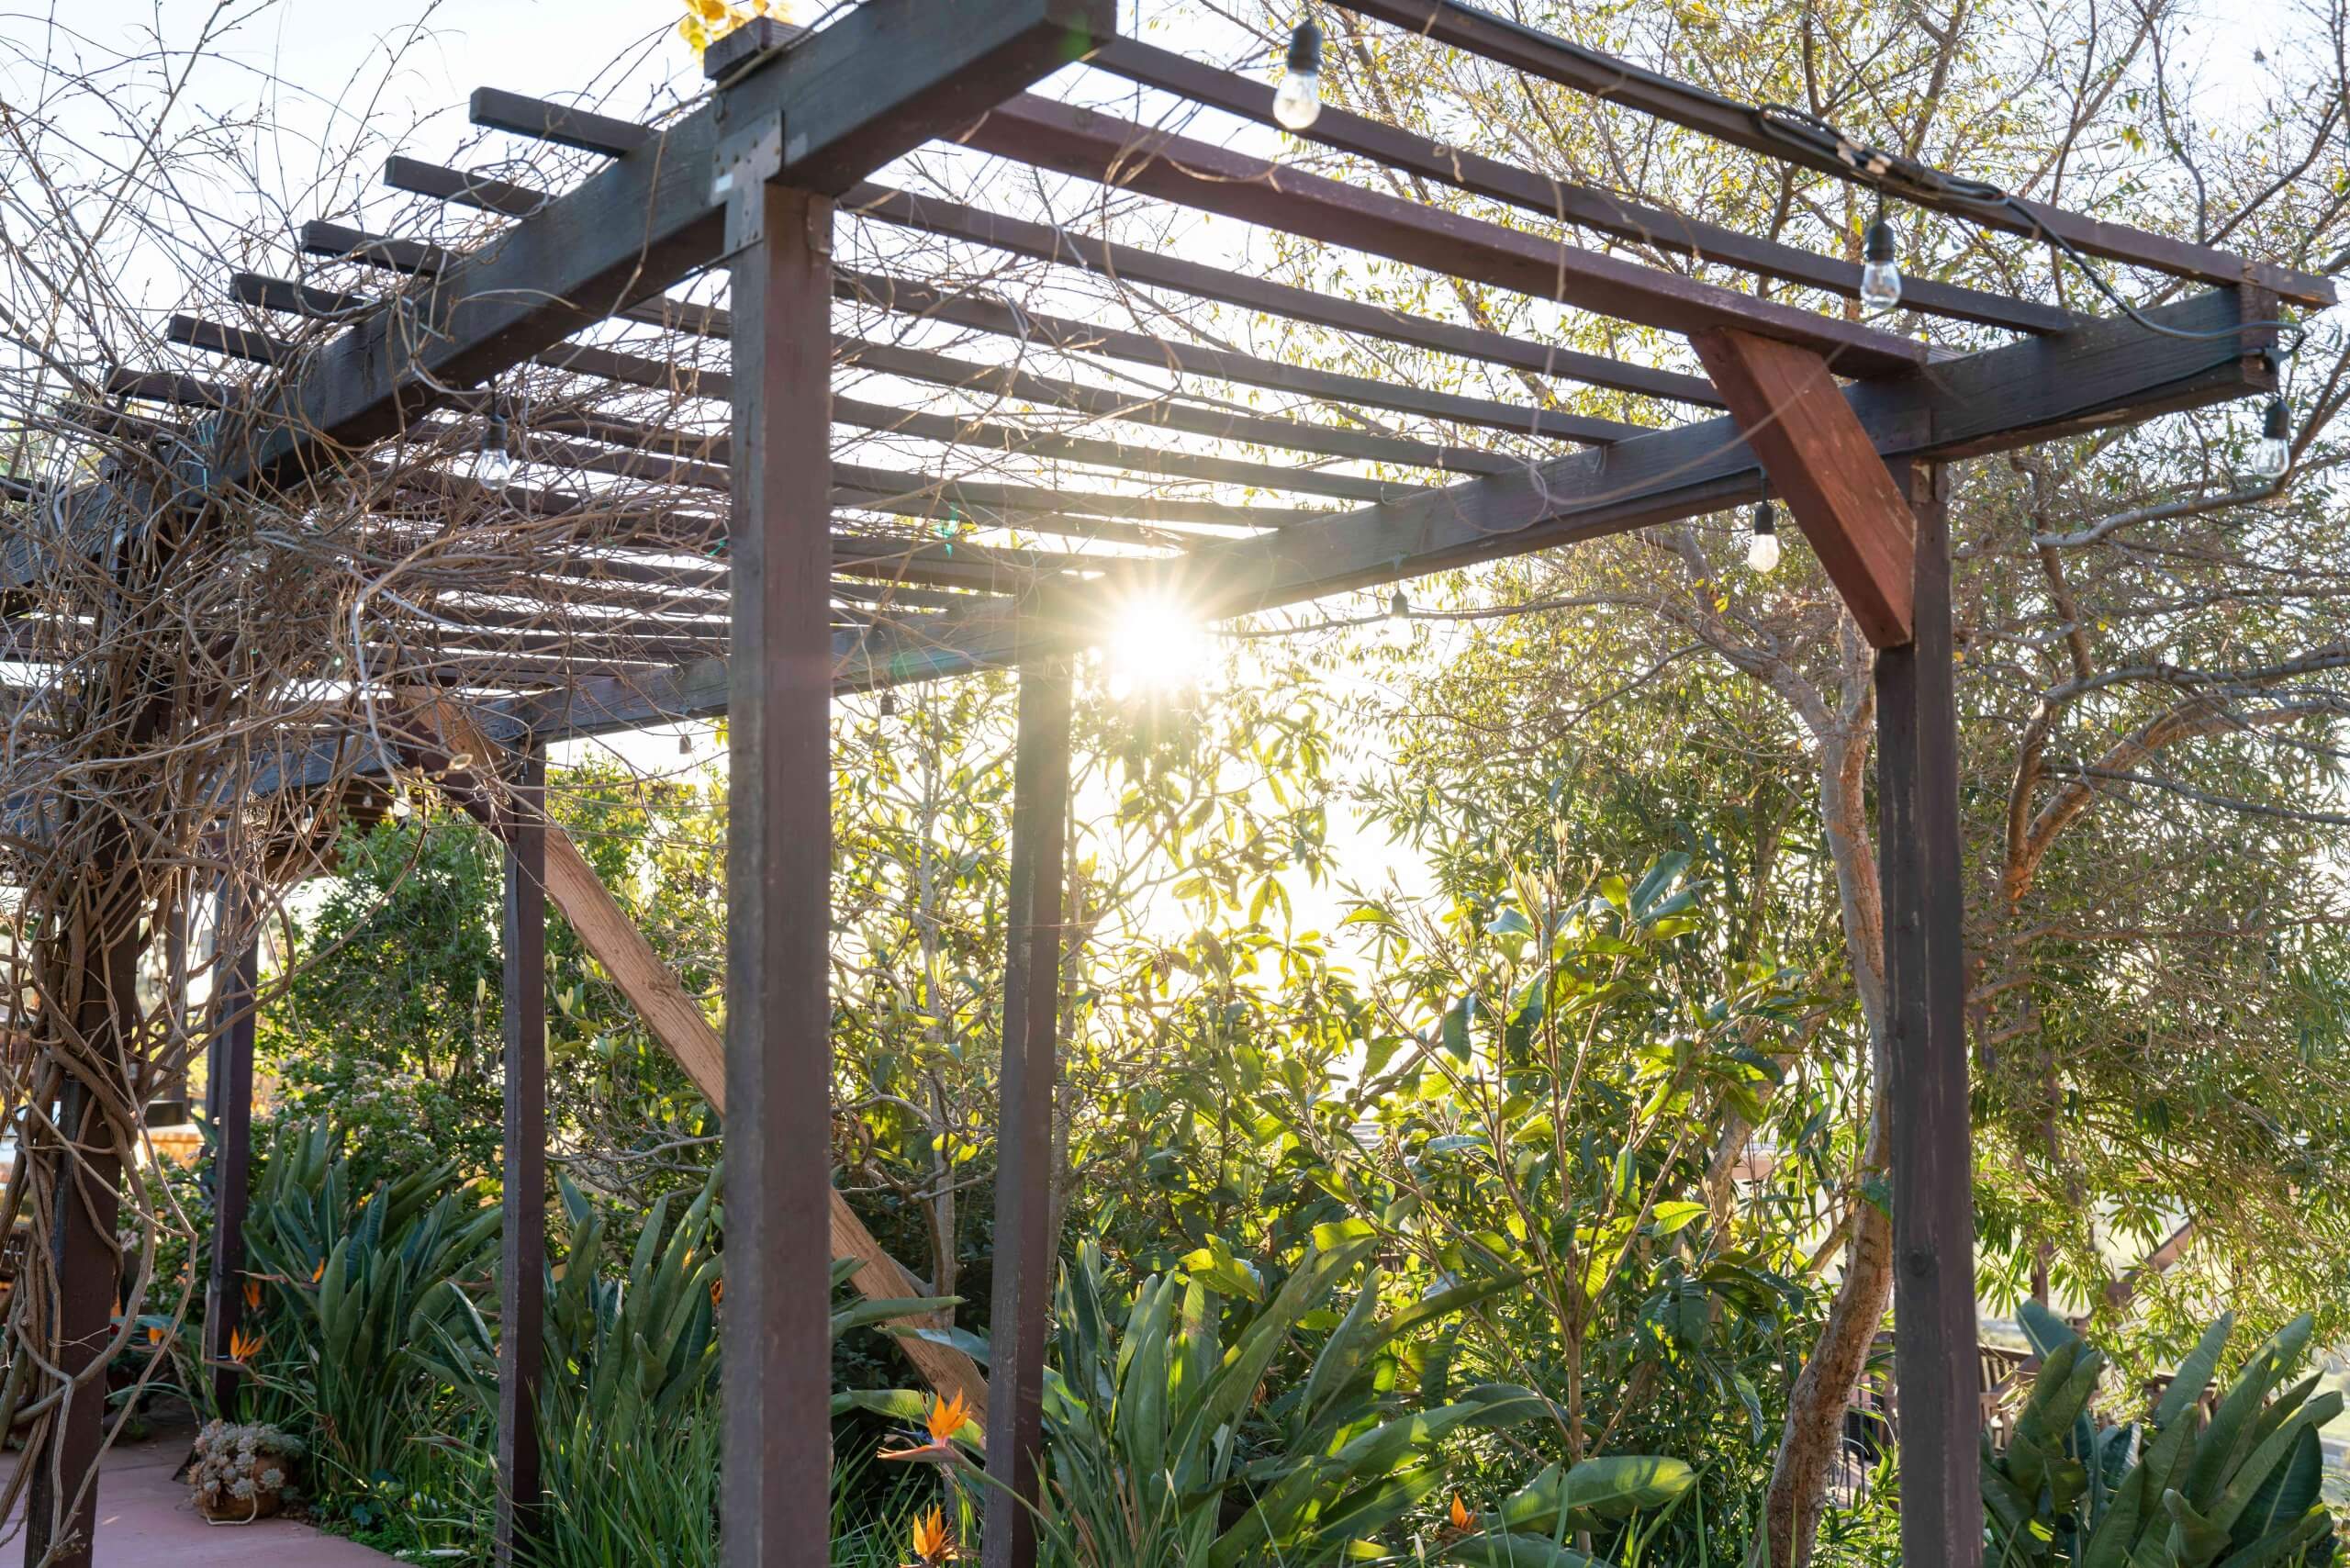
The first step in building your new quality diy pergola is to choose a design and where it’s going to go in your yard. There are several designs to choose from, and it’s extremely important that you choose a location for it.
Do you want an attached pergola or would you prefer a freestanding one? Figuring out the design will help you determine how much material you’ll need to construct it and how much yard space it will take up.
If you need some inspiration, there are plenty of online photos of pergolas in different styles. But don’t go with overly fancy designs, as they might require specialized tools or very specific knowledge/skills that you might not have.
2. Obtain A License
Once you’ve determined the design and placement of your pergola, you then have to make sure that you’re allowed to build it. Different counties and states may have different rules, so it’s important to look them up beforehand to see if you need to get a license to build a pergola on your property.
Pergolas that are attached to the main structure of your home are more likely to require licenses than freestanding pergolas. However, you may still need to ask your town council for permission, as well as any neighbors who live right next to you. The reason you need permission is that you’ll be digging holes into the ground to place the posts, and you might hit a main water or gas line.
You’ll also need to inform your council and the design and dimensions of your pergola. They may ask you to alter a few details so that it adheres to specific guidelines.
3. Choosing The Right Material
Most homeowners choose to go with wood for their pergolas because of how it looks, but there are plenty of different materials you could choose from. Wood is also the most common material that’s used in DIY kits or projects, so that might be an easier choice for you.
The general rule for the wood you use for your pergola is anything that is resistant to both heat and moisture. A good choice is redwood or cedar since they’re quite resistant to extreme weather conditions. However, these benefits mean that they’re going to be a tad more expensive than other kinds of wood.
Another option is pressure-treated lumber. It’s a bit more affordable, but it is prone to cracking and releasing chemicals over time when exposed to rain and heat.
The best way to choose the right material is to focus on quality to ensure your pergola lasts as long as possible.
4. Having The Right Tools For The Job
Now that you have the materials, it’s time to look at how you’re going to put it all together, and that means having the proper tools to accomplish your goals.
If you already have experience with woodworking, then you’re probably all set, but if you’re not, then it might be a good idea to get some advice from someone who does so that you can properly prepare for all the woodworking you’re going to do.
When building your own pergola, you’re going to need a lot of expensive tools that you’re not likely to use ever again, so that’s something to also keep in mind.
To save you on some time and money, you should check your local home retailer store to see if you could rent some of those tools instead. That keeps a lot of money in your pocket while still making it easy for you to complete your project.
5. Using Concrete
If you want to permanently attach your pergola to your yard, then you’re going to have to invest in a bag of cement. Dig a few holes in the ground (one for each post you have), insert the columns, and fill in the space with concrete once it’s built and attached to prevent the posts from coming out.
You could even add some paint to the concrete to better blend it or create a design that adds some flair to your pergola.
If you don’t want to use concrete, then you could consider using temporary supports to help keep your pergola stable. And once the pergola is ready to stand on its own, these supports can be removed.
Extra Design Suggestions
With these tips in mind, there are a few considerations to take into account. Consider climbing plants to help beautify your pergola, take note of the sun’s path in your yard so that your pergola offers proper protection, and measure beam placement so that they’re even from each other.
Proper placement of your pergola will ensure that you have a nice cross breeze as well so that you’re not sweltering in the heat.
Do you feel like you’re ready to start putting your new pergola together? Hopefully, these tips have given you the confidence you need to start gathering the right materials and tools to start on your new project.
However, if there are some parts of the DIY process that are leaving you confused, don’t be afraid to speak to a home repair professional for advice so that you can get it right the first time and enjoy it sooner rather than later. There’s nothing more annoying than having to redo a project that is already expensive and time-consuming.
- Why Growing Workshops Need to Treat Abrasives as a Business Decision, Not a Consumables Line ItemA lot of Australian workshops still buy abrasives the same way they buy tea bags, gloves or bin liners. Someone spots a deal, a carton lands, the team uses it until it runs out, then the cycle repeats. That works for a while. It usually... The post Why Growing Workshops Need to Treat Abrasives as […]