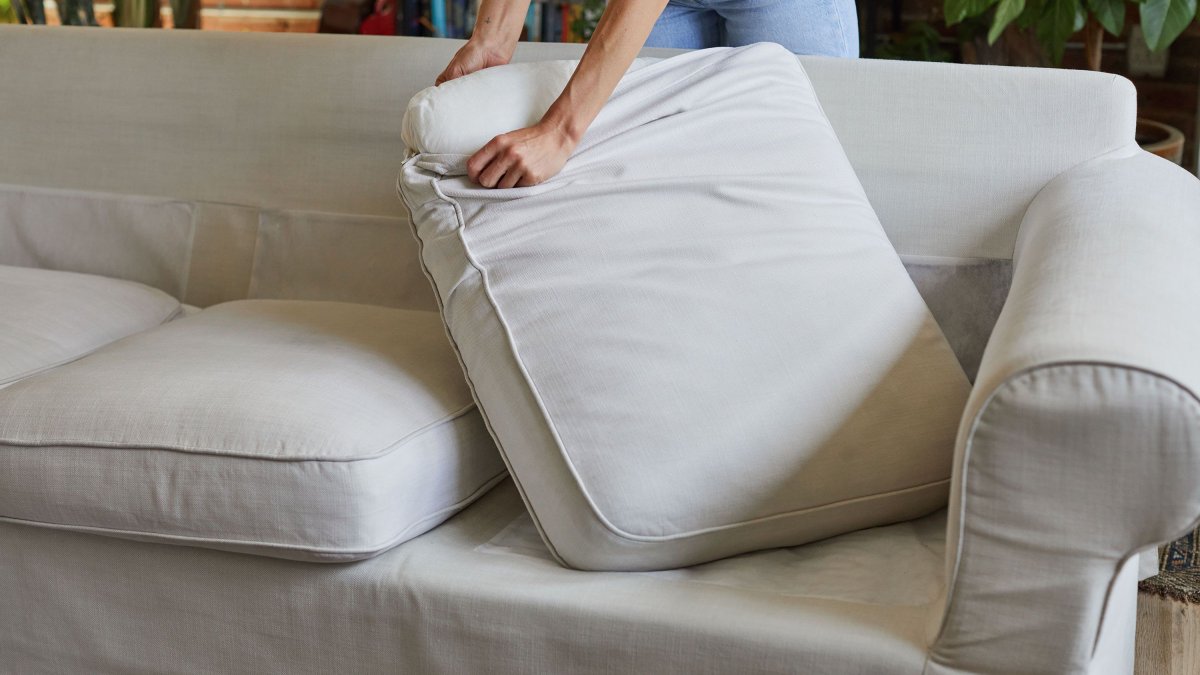
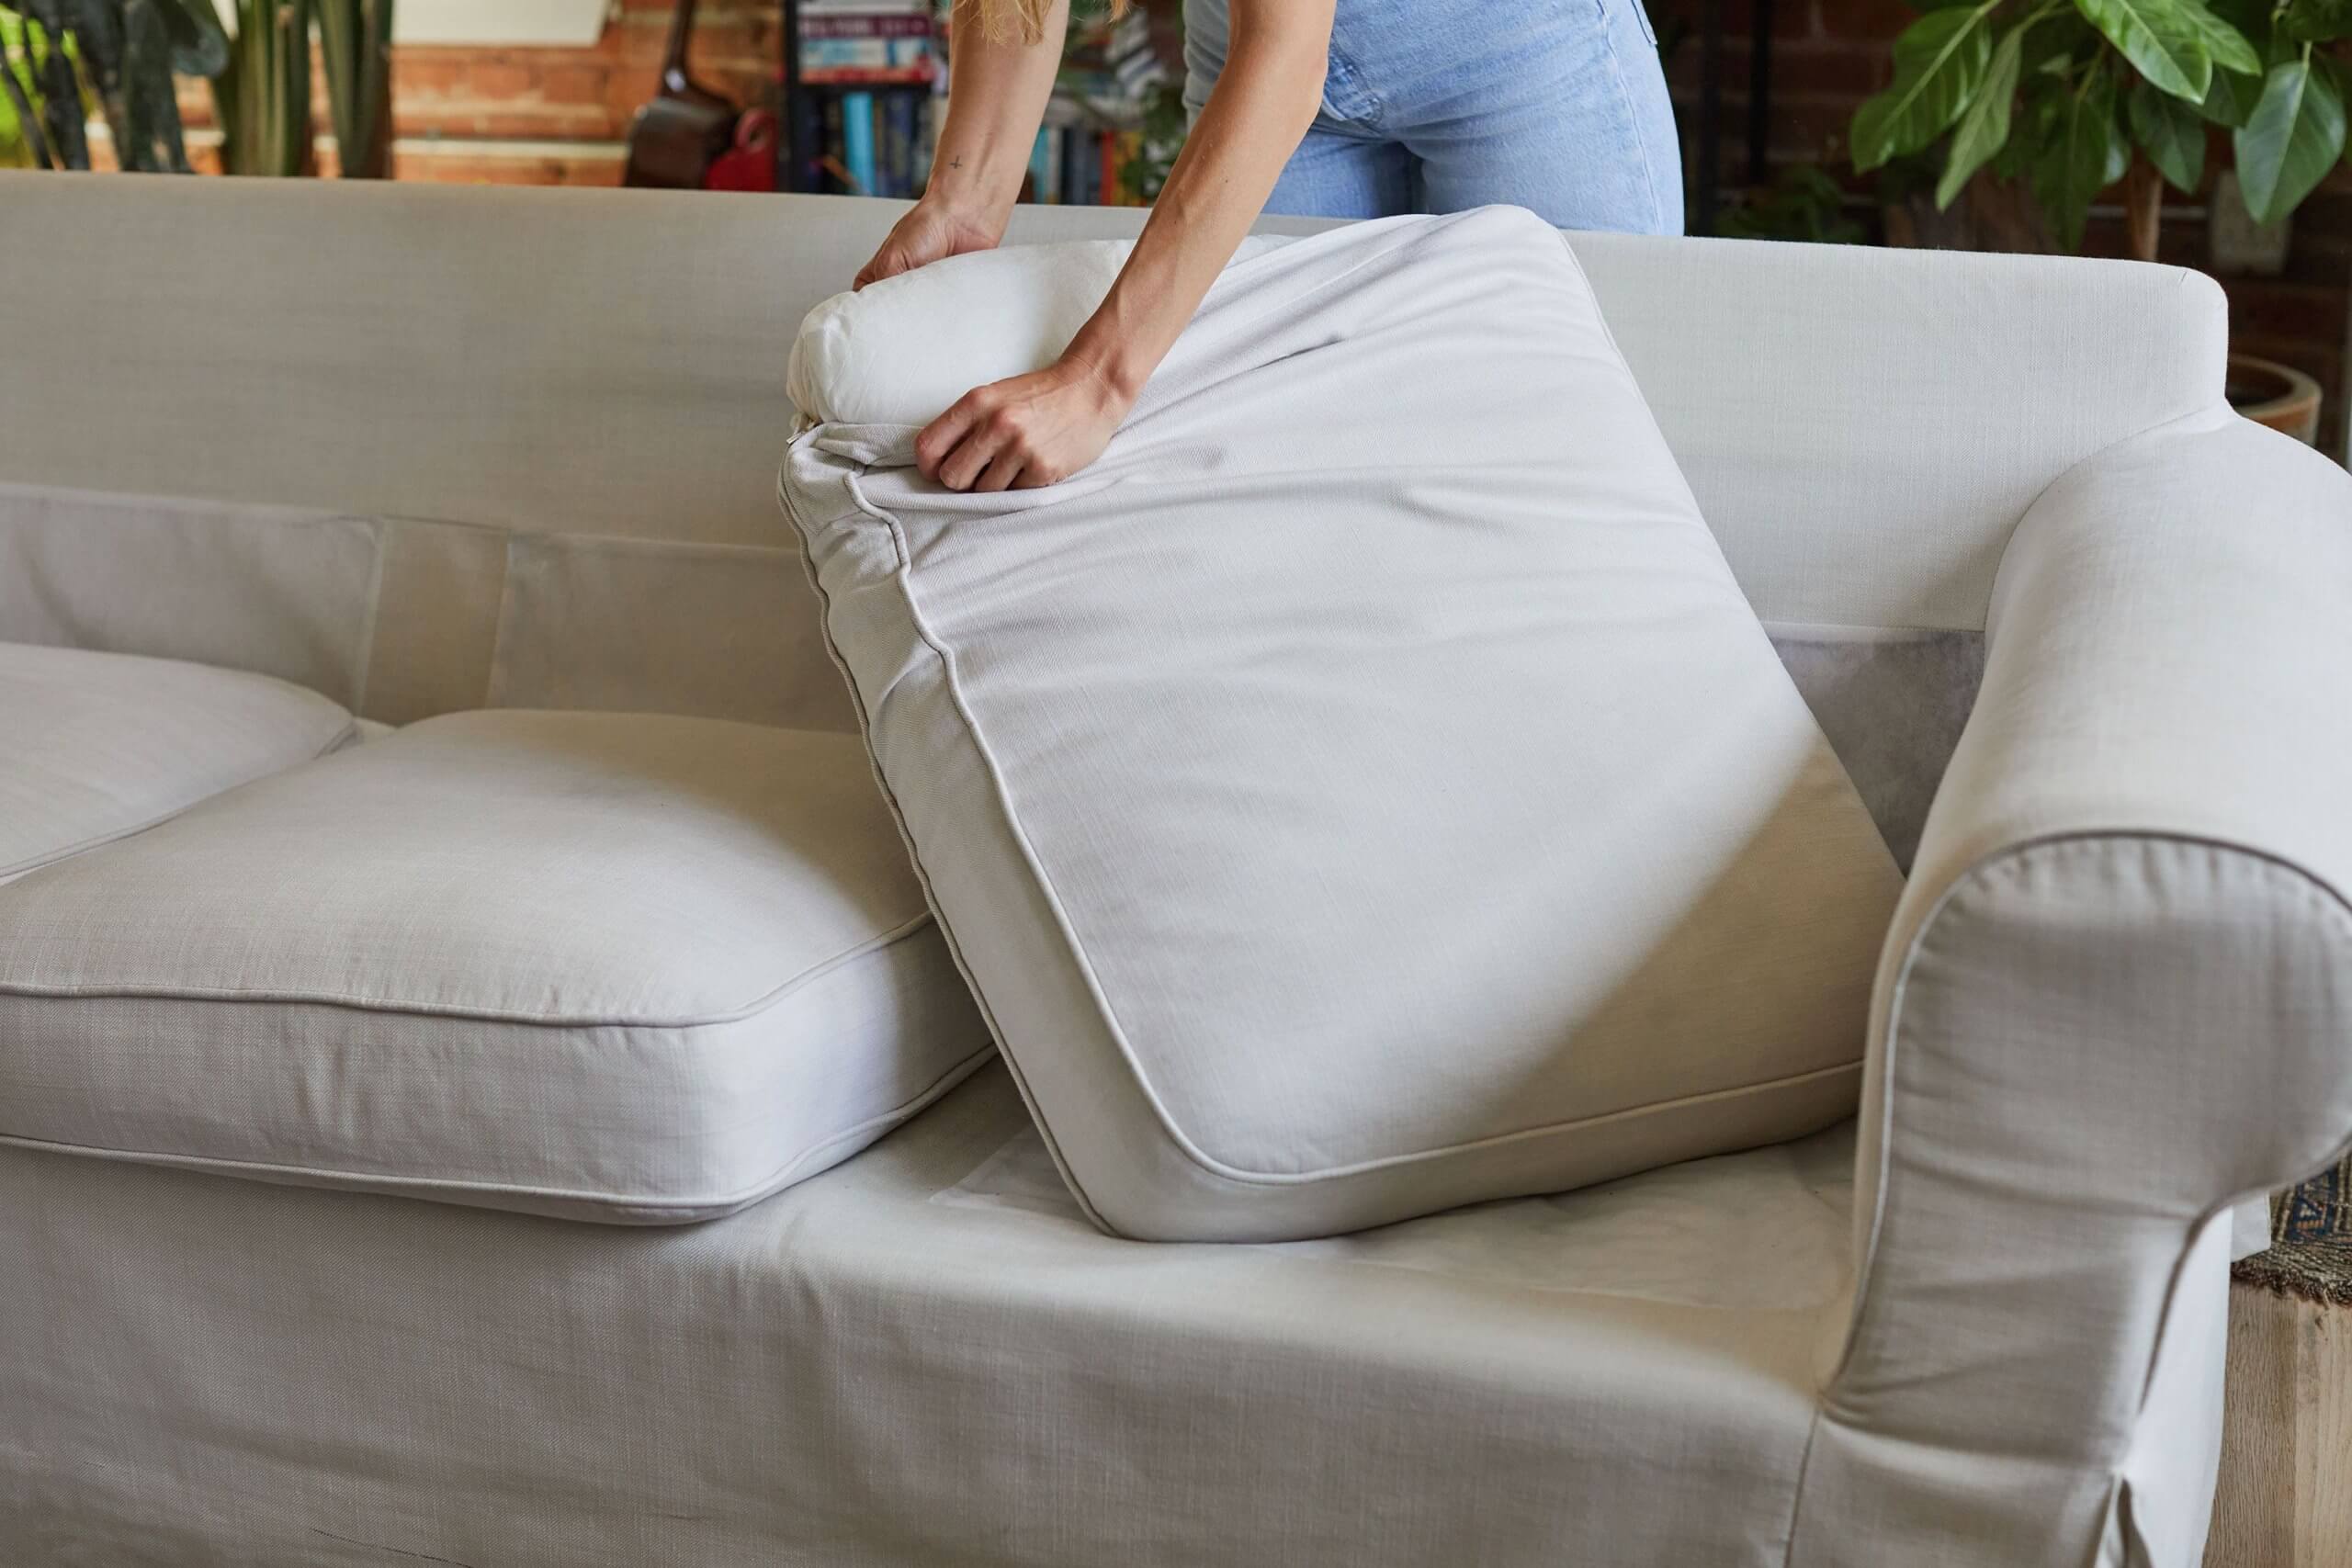
Couches tend to wear out over the years by constantly using them. It is natural for this furniture to show such signs. However, buying a new couch and spending over a hundred dollars might not be a part of the plan for some homeowners. An alternative solution for situations such as these is to restuff your couch. Instead of spending hundreds of dollars, you can just get away with some elbow grease and materials to restuff the couch.
Restuffing the couch is also an excellent opportunity to have it reupholstered if you are planning in changing the color of your couch. Reupholstering your couch, then restuffing it is like hitting two birds with one stone. Although, if you want to retain the color scheme of your couch, then you can just remove the cushions from the cover, restuff the couch, and finally put everything back together.
In this guide, we show you the ways how to restuff the couch
Before You Begin
Before proceeding to restuff your couch. Inspect the couch and see if your couch is removable and if there are ways to open or access the cushions. Regular couches with access to the cushions usually have a zipper at the back or somewhere around the couch.
If your couch doesn’t have any means of accessing the cushions, then your couch is not possible for DIY stuffing. Unfortunately, not all couches can be saved due to damage and sagging.
A last resort might be to buy a new one. However, you will have to find a way to dispose of the old couch, and your regular trash pickup might not accept bulky furniture as trash. For this situation consider hiring a junk removal service to haul away your old couch from the house. They will be the ones to handle the couch removal service from start to finish. If you are lucky, some teams of junk removal services even offer a free post-removal cleanup in the area.
What You’ll Need
Materials & Equipment
- Spray adhesive
- Couch cushions
- Poly-fil (10lbs – 15 lbs)
- Quilt batting (6 yards -8 yards)
Instructions
Step 1: Remove Back Cushions
Remove the cushions and covers of the back cushion. Removing the cushions is a good opportunity to clean the interiors of the couch by removing all the dust from it. Better yet, deep clean and wash the cushions and covers of the back cushion. Keep the cushions aside in a clean living room floor to have more space to work within the area.
Step 2: Stuff Poly-fil into the Back Cushions
Grab a handful of Poly-fil and begin stuffing the poly-fil unto the inside of the cushion until it is full. Better to overstuff the cushion than be short of it. Stuff the cushion and make sure to fill every space in it. When stuffing gets difficult, try using a stick to help you shove and push the poly-fil into the tricky parts of the cushion.
After stuffing the cushion, shape the cushion into a smooth shape. The stuffed cushion should look almost overstuffed and full. Over time, the polyfill of the cushion will settle after a few weeks of using it.
Step 3: Remove Seat Cushions
After stuffing all of the back cushions from the couch. Proceed in tackling the seat cushions of the couch. The seat cushions are not to be filled with Poly-fil as this part of the couch is flat and barely fluffy. The seat cushions are generally made of foam stuffed inside a cover.
Remove the foam from the cushion fabric cover, and proceed in stuffing the cushion.
Step 4: Wrap the Seat Cushion with Quilt Batting
After removing the seat cushions from the couch. Grab the roll of quilt batting and straighten a piece of it.
Lay the piece of foam from the seat cushion and wrap it with the quilt batting like a gift. Wrap the batting around it with three layers or more, depending on how much sagging the seat cushion has. Apply spray adhesive to the wrapped foam to help the batting stick to it.
Step 5: Stuff Back the Seat Cushions to the Covers
Now that you have wrapped the seat cushion with the quilt batting, proceed in stuffing the foam back into the covers. Take note that these foams are now bulkier than it was before, shoving the foam back into the cover may require some more work and elbow grease.
Stuffing the foam back into the covers should be a tight fit. It can be a challenge to snug the foam back to the cover, so you may need some friends or family to help you in putting the foam back.
Step 6: Replace The Cushions
After stuffing the back cushions and seat cushions of the couch. Put the seat cushion back onto the couch and it should fit tightly within it.
The couch should look comfortable and plump after restuffing it. The sagging should be fixed and look like they are brand new. Since the couch has been recently stuffed, the couch should feel too plump than usual. Give the stuffing of the couch a few weeks, and this should let the stuffing fully settle after using it.
Ava Clarkson
Related posts
Stay connected
Today's pick
- Why Professional Rigging Matters for Major Home RenovationsMajor home renovations look very different today than they did even twenty years ago. Homes are larger, materials are heavier, and design trends increasingly rely on structural elements such as steel beams, oversized windows, rooftop equipment, and prefabricated components. Whether it is a full home... The post Why Professional Rigging Matters for Major Home Renovations […]


